Back to Basics: Cross Quilt

I've been in a creative mode lately. This weekend I finished a new quilt. I wanted something simple  and understated to gift to someone special who is having a birthday this week. So, I settled on a basic cross quilt. The piecing was a breeze. I think this is the quickest I've ever  finished a quilt. I quilted it with straight lines on one direction to complement the simplicity of the design and I'm so pleased with with the way it tuner out. Another of my favorite things about this quilt is the herringbone pattern of the backing fabric; which I happened to find on sale at my local fabric store. I just love when I find a good deals on large cuts of fabric, with no project in mind, and they end up working perfectly.

I really enjoyed working on this quilt and love the way it turned out. I just hope that the recipient likes it too.

Quilt Stats:

Measures: 60X60 Inches

Fabric: Kona Cotton

Have a happy week!

XX

Martha.

Knitting Finish: The Age of Brass Shawl

The Age of Brass Shawl

Happy Monday! I hope you had a lovely weekend. I'm having a bit of celebration going on here;  I finally finished my Age of Brass Shawl! After about four months of hauling around my knitting bag everywhere I went (I rarely knit at home, I do most of my knitting in the car when my husband drives), it is finally finished. Yay!

The pattern is very easy to follow and such a fun project. It is available for free on Raverly. The instructions on the pattern are for a small shawl or kerchief but I added a few more sections to make it into a shawl to cover my back. It gets chilly at the office so I thought it would be nice to wear a shawl once in a while instead of my usual cardigan.  I absolutely love the way it turned out. The yarn is Galileo from Knit Picks; a blend of Merino wool and Bamboo.  It has a beautiful drape and it feels so soft and luxurious. The color is so yummy it reminds me of raspberry jam.

I'm slowly growing my collection of handmade knit wears and it makes so happy. Plus with each project and learning new techniques to improve my knitting skills.

Now I'm off to browse Raverly in search of my next knitting project.

Have a wonderful week!

XX

Martha.

Quilt Finish: Summer Kaleidoscope

fullsizeoutput_1c1d.jpeg
Summer Kaleidoscope
Summer Kaleidoscope
Summer Kaleidoscope
Summer Kaleidoscope

Happy Monday! It has been a while since I posted here (or visited your blogs). Sometimes it is a bit hard to balance work, life and all the other little things in between.  But after some crazy weeks I think I'm finally finding my balance again and finding time to create. Last Saturday I finally finished this quilt that I have been working on and off since last month. Back in June when I started this quilt I had no idea of the direction I was going to go with it. I started by cutting the fabric in long strips  and sewing them together. I had just gotten a new triangle ruler so I thought I would maybe do some scrappy triangles alternating with solid ones. But after playing with the triangles on the design wall I settled on arraying the triangles to form hexagons and use Kona Snow as a background. I really like how the triangles look arranged as hexagons they remind me of the patterns you see through a Kaleidoscope. When it came to quilting it I decided to try something new: thus I settled on concentric circles. I've never done circular quilting before and I absolutely love the result. It did take a bit of time turning and turning the quilt and pushing it through the small harp space of my machine but it was totally worth it. I backed the quilt with flannel that I had in my stash which luckily coordinated really well with the top. 

I love this quilt so much. It has quickly become a favorite. Additionally the fabric was a  birthday gift from my mother-in-law. She doesn't sew so I think it is very sweet that she took the time to go fabric shopping for me so that make this quilt extra special. 

Thank you for stopping by!

*Linking up to Let's Bee Social at

Sew Fresh Quilts

*

XX

Martha

Ho, Ho, Ho and on We Sew Link Up

Welcome to this month's Link up! I'm so glad you are here. I was absolutely delighted when Fiona @

Celtic Thistle Stitches

asked me to host the Link up. I think the idea  of getting ahead with our Christmas makes is absolutely brilliant! I have found myself every year trying to scramble my handmade gifts in the week leading up to the holidays and it is absolute madness.

Christmas Gift Bag

Since you are all coming up with great handmade gifts I thought I'll share with you an idea of how to wrap your beautiful handmade gifts this Christmas. I created a tutorial for this string bag that your gift recipients could save or re-use. You can find the tutorial here.

We'd love to see what you have been up to. Please link up you holiday makes below. You have until the end of the month to add your link and automatically be entered on the giveaway. An InLinkz Link-up

And now on to the giveaway! This month's giveaway is this beautiful Be Jolly Mini Charm Pack by Moda donated by the kind people of The Fat Quarter Shop

Thank you so much Fiona for inviting me to host this month and to all of you for stopping by!.

Also, a big thank you to all the sponsors of the monthly giveaways:

Tutorial: Re-usable Gift Bag

Christmas Gift Bag
Christmas Gift Bag

It is interesting to be working on Christmas projects in June; in a way it feels a little bit early.  But that is the way to go to avoid the holiday rush. Fiona from Celtic Thistle Stitches came up with this amazing idea Ho, Ho, Ho and on We Sew,which is a monthly link up to encourage other bloggers to get a head start with our Christmas makes. Every month there is a link up and a giveaway! You can find this month's link up here.

Every month everyone participating  in the link up shows beautiful makes, so  I thought I will share with you a tutorial for a gift bag to wrap your beautiful handmade gifts that can be re-used. It is basically a string bag that you can personalize and embellish to match the recipient's personality.

Here is what you need:

Re-usable gift bag Materials

-Fabric for the bag

-Fabric scraps at least 5X5 inches

-Fusible interfacing

-Twill tape

-Stamps and ink pad

-Various trims and decorations

-Ribbon

Let's get started:

Collage - Tutorial Christmas bag

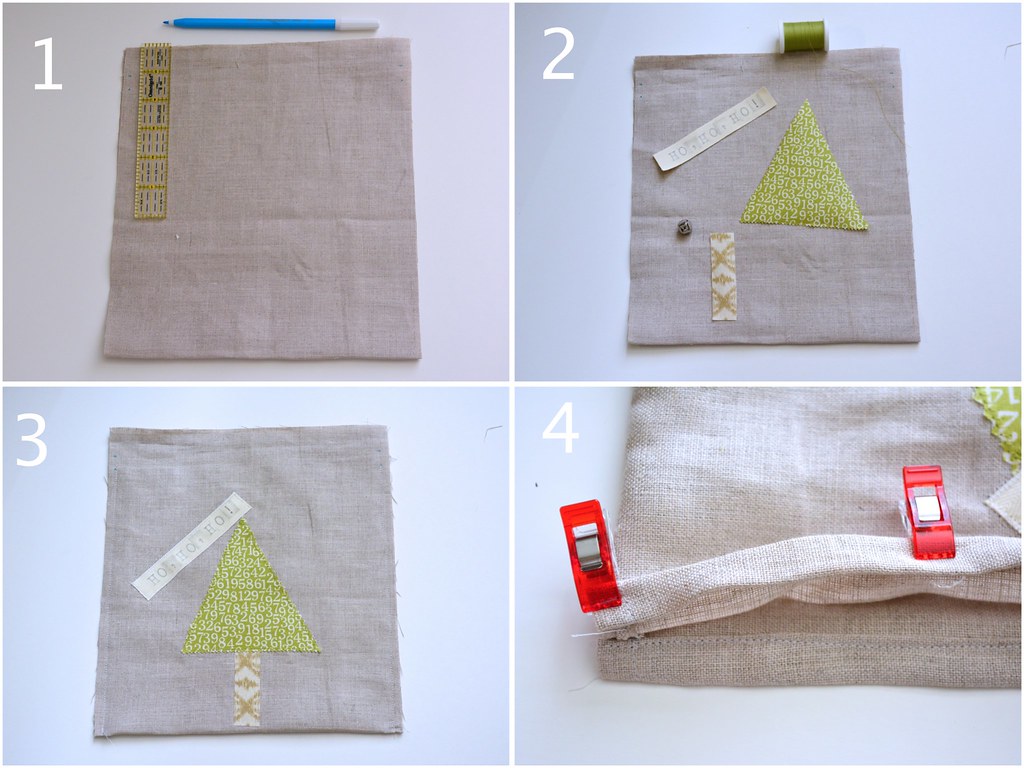
1. Cut a fabric rectangle for the body of the bag: It can be any size you want; the width that you want your bag to be plus 1 inch for seam allowances (for a French seam) by the height you want your bag to be times 2 plus 3 inches for the channel for the string. i.e. I cut my rectangle 9 1//2 X 22 inches for a finished bag approximately 8 1/2 X 9 1/2 inches.  Fold your fabric in half wrong sides together. On each side from the top down make a mark at 1 inch and another mark at 1 /12 inches.

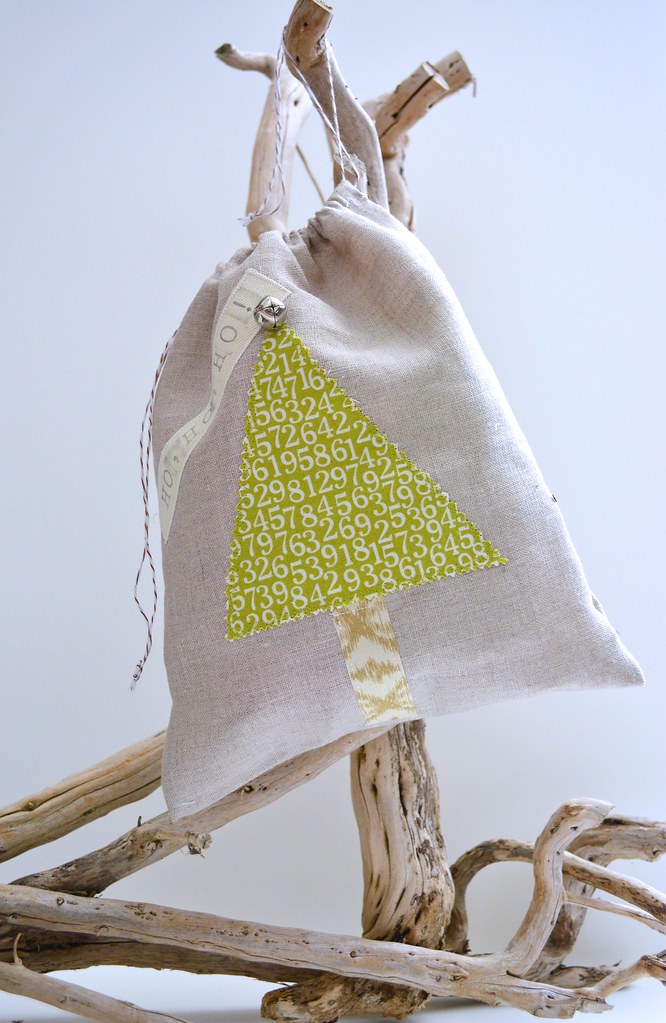
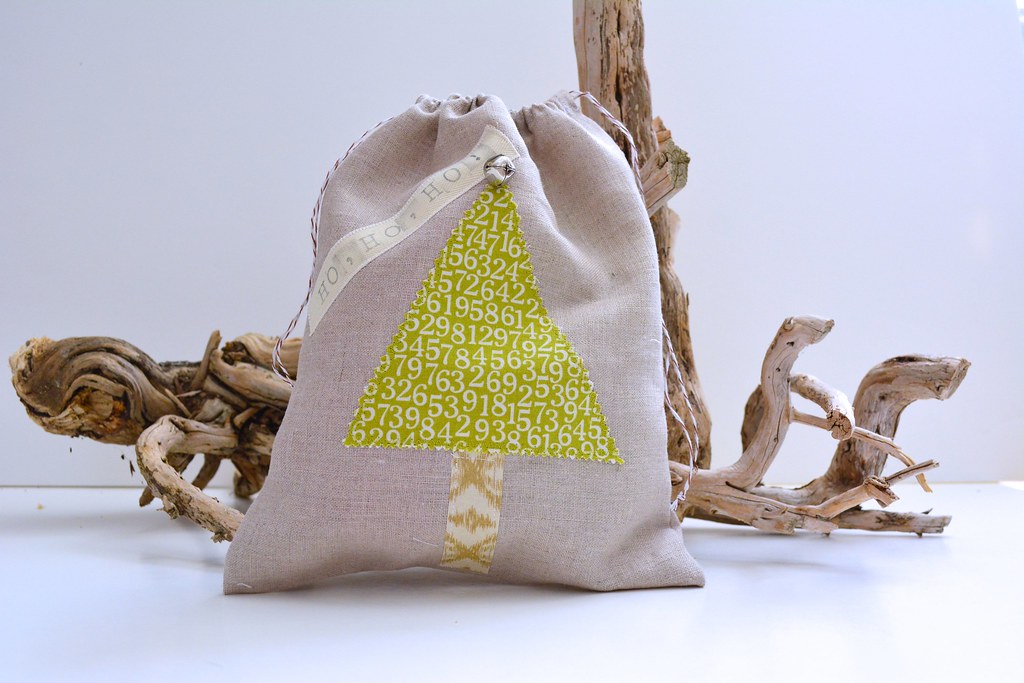
2.  Now this is the super fun part and where you can unleash your imagination. Let's decorate the front of our bag! I made a little christmas tree and added a twill label with the words Ho, Ho, Ho! (I thought it would be appropriate for the theme of the link up). Attach the Christmas tree to the bag using fusible interfacing according to the manufacture's instructions. Topstitch to secure the decoration with a zigzag stitch to make it more attractive.

Stamp a fun message on the twill tape with your stamps. Iron on high to set the ink. Then attach to your bag with a small zigzag stitch.

3. Now that we have decorated our bag it is time to close it. Using a scant 1/4 inch seam allowance stitch on the right side of the bag on each side stopping at the 1 1/2 inch mark that you made earlier. Trim any loose threads. Turn your bag inside out. Flatten the seams of the bag and stitch again using a 1/4 inch seam ( this will enclose the raw edges that we had on the outside of the bag. Stop at the 1 1/2 mark at the top of the bag.

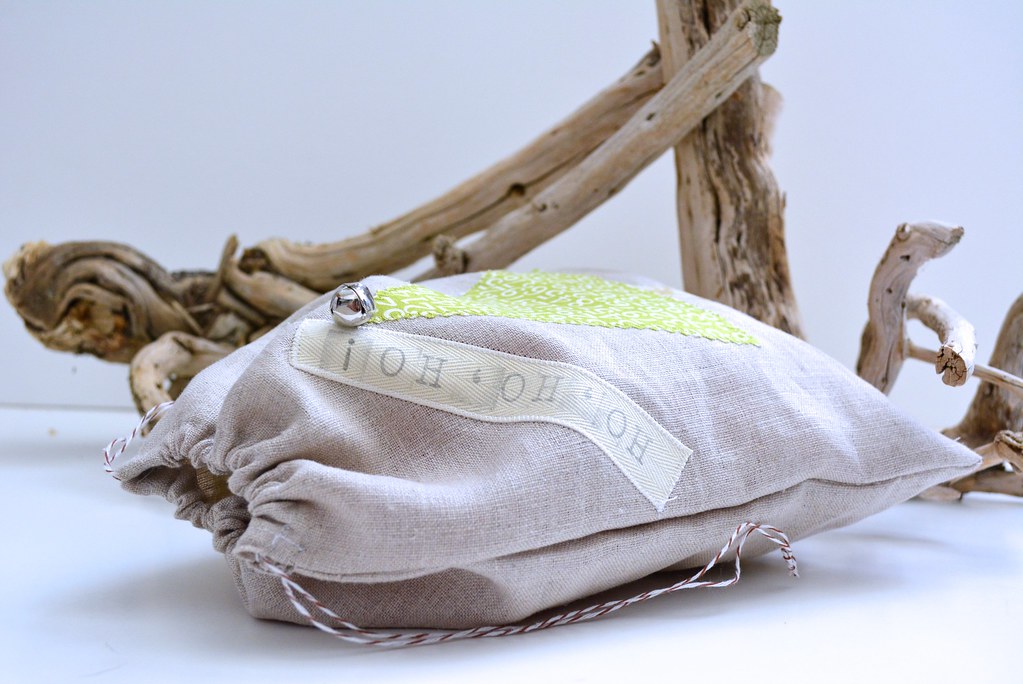
4. We are almost done. Turn you bag right side out. On each side of the bag fold the seam allowance that was not stitched on each side and stitch to secure. Now to form the channel for the string fold from the top down to the 1 inch mark that you made earlier and again to the 1 1/2 inch mark. Stitch to secure. Using a safety pin run a ribbon through the channel. *I had planned to use natural twine but it was too rough and didn't run well through the channel. So I used baker's twine instead and worked so much better* And finish it off with a jingle bell on top of the tree.

If you have any questions, leave me a message or send me an e-mail.

Happy Sewing!

XX

Martha.

Knitting Update and the Slow Bloggers Linky

The Age of Brass Shawl - Progress
The Age of Bass Shawl - Progress
The Age of Brass Shawl - Progress

Hello fellow slow bloggers! Welcome to Weekend Doings and  to this month's edition of the Slow Bloggers Linky Party.  I'm so happy you are here. I was so thrilled when Catherine invited me to host the Linky one more time. As you know the Slow Bloggers Link up is a place to share and  celebrate our crafty or personal achievements during the month whether big or small; as well as to connect with and support other fellow bloggers.

In honor of this month's link up I wanted to share with you one of my slow projects. This is shawl I started a couple of months ago. I love to knit, but I'm very slow at it. Before I used to get frustrated at myself for not being very productive.  Nowadays,  don't think much about how long it is taking me finish a project. I try to enjoy and savor every stitch that I make and I have to tell you, it is so much fun that way. Every little progress that I make it really feels like an accomplishment and before I knew it my shawl is almost finished.

How about you, what you've been up to this month?

Knotted Cotton

Thank you so much for stopping by!

XX

Martha.

Color Inspiration

Color Inspiration:
Untitled
Yarn - Color Inspiration
Color Inspiration - New yarn
Color Inspiration - New Yarn
I have a new color crush. I'm always inspired by nature and the flowers in my garden are a constant source of inspiration. Lately I have discovered that I'm drawn to the color purple, which happens to be abundant in my garden. Whether I'm choosing colors for my projects or my wardrobe purple seems to always be in my mind.  And my recent yarn purchase was no exception. It had to be purple! It is such a happy color don't you think?  The light purple or lavender yarn will become a shawl (a birthday present for someone special) and the darker one will become a cowl for me :) I can't wait to get started but in the meantime I'm getting lots of inspiration for even more future projects from this book.
I hope you have a happy weekend.

XX
Martha