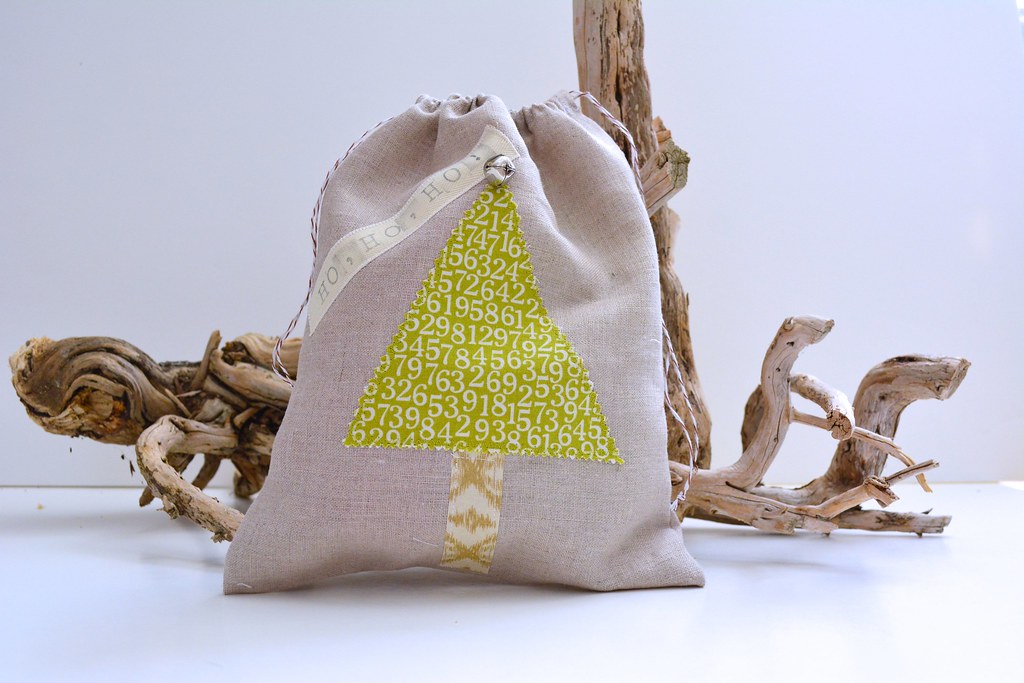
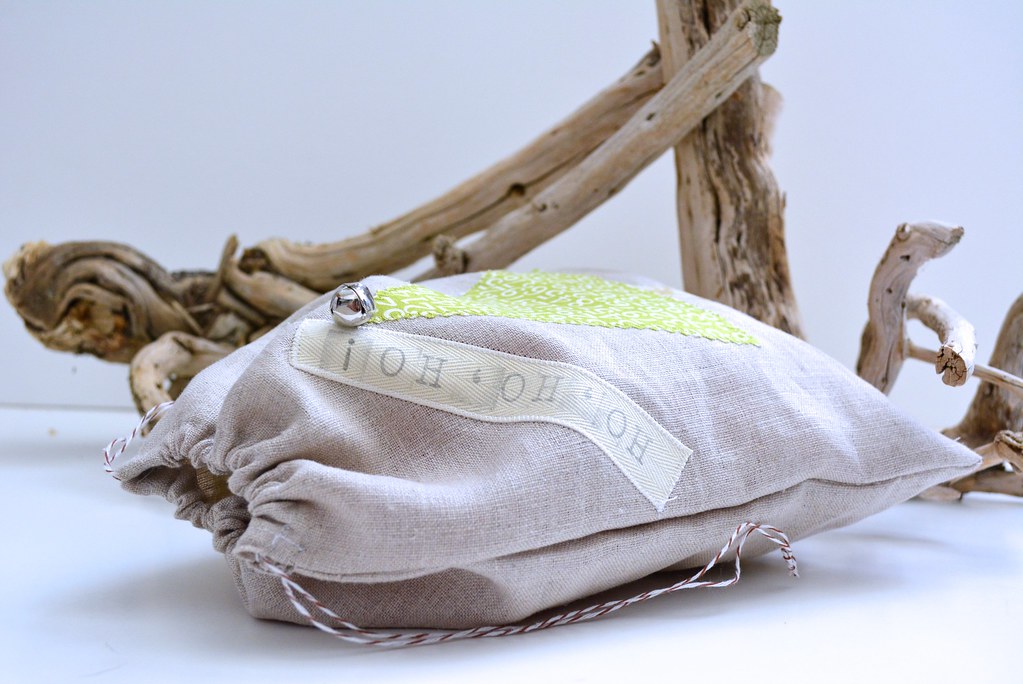
Tutorial: Re-usable Gift Bag

Christmas Gift Bag
Christmas Gift Bag

It is interesting to be working on Christmas projects in June; in a way it feels a little bit early.  But that is the way to go to avoid the holiday rush. Fiona from Celtic Thistle Stitches came up with this amazing idea Ho, Ho, Ho and on We Sew,which is a monthly link up to encourage other bloggers to get a head start with our Christmas makes. Every month there is a link up and a giveaway! You can find this month's link up here.

Every month everyone participating  in the link up shows beautiful makes, so  I thought I will share with you a tutorial for a gift bag to wrap your beautiful handmade gifts that can be re-used. It is basically a string bag that you can personalize and embellish to match the recipient's personality.

Here is what you need:
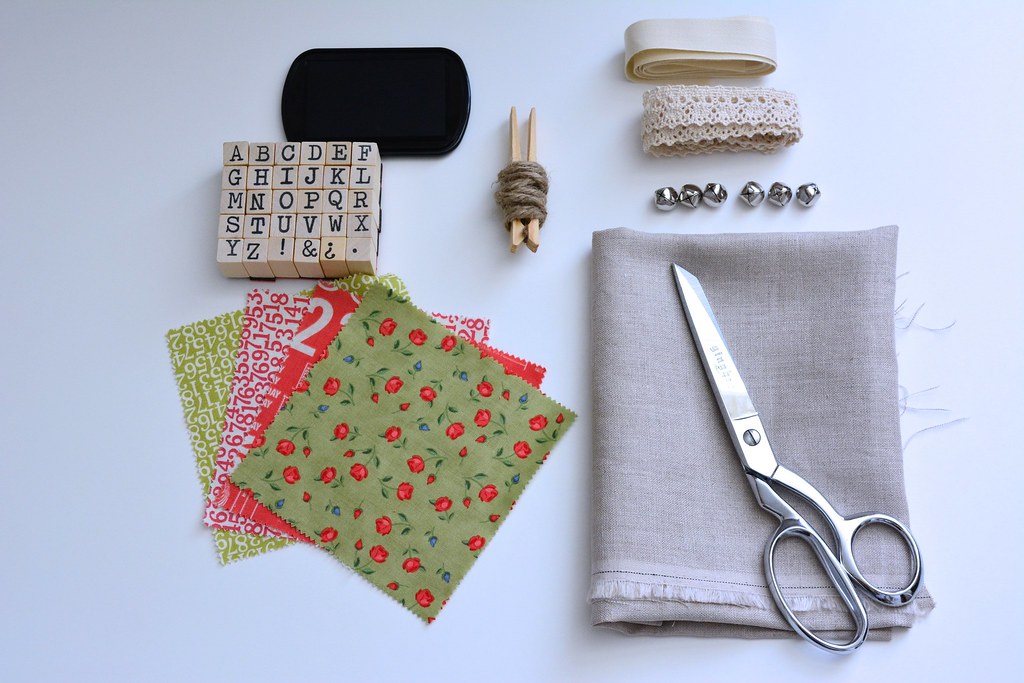
Re-usable gift bag Materials

-Fabric for the bag

-Fabric scraps at least 5X5 inches

-Fusible interfacing

-Twill tape

-Stamps and ink pad

-Various trims and decorations

-Ribbon

Let's get started:
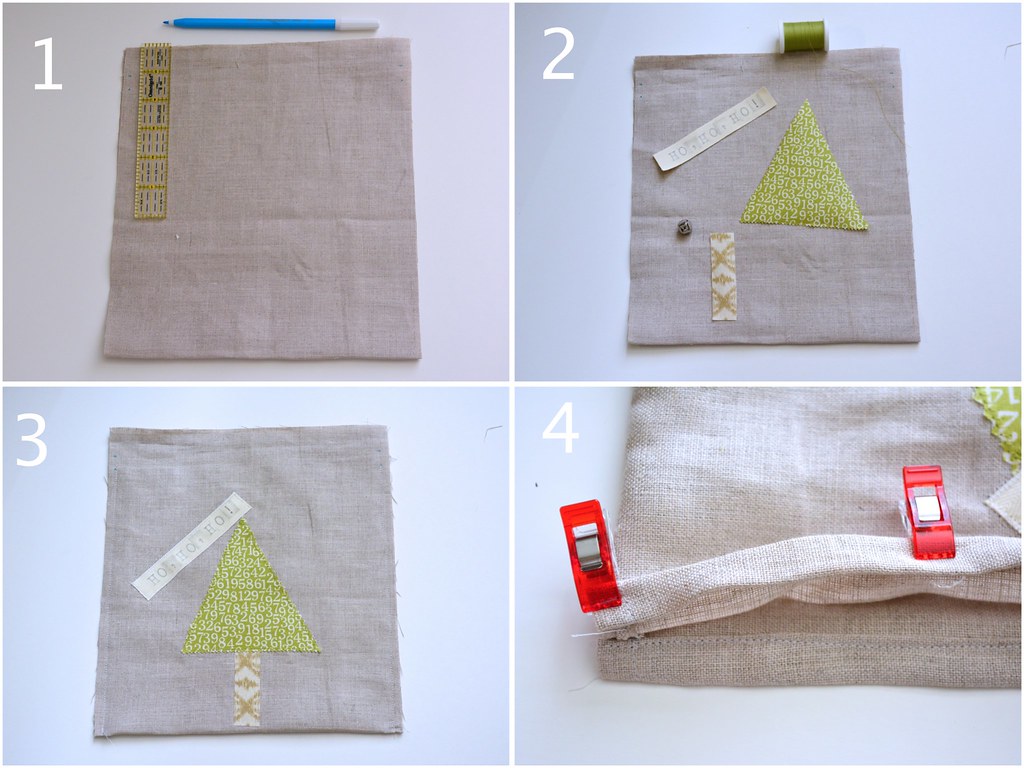
Collage - Tutorial Christmas bag

1. Cut a fabric rectangle for the body of the bag: It can be any size you want; the width that you want your bag to be plus 1 inch for seam allowances (for a French seam) by the height you want your bag to be times 2 plus 3 inches for the channel for the string. i.e. I cut my rectangle 9 1//2 X 22 inches for a finished bag approximately 8 1/2 X 9 1/2 inches.  Fold your fabric in half wrong sides together. On each side from the top down make a mark at 1 inch and another mark at 1 /12 inches.

2.  Now this is the super fun part and where you can unleash your imagination. Let's decorate the front of our bag! I made a little christmas tree and added a twill label with the words Ho, Ho, Ho! (I thought it would be appropriate for the theme of the link up). Attach the Christmas tree to the bag using fusible interfacing according to the manufacture's instructions. Topstitch to secure the decoration with a zigzag stitch to make it more attractive.

Stamp a fun message on the twill tape with your stamps. Iron on high to set the ink. Then attach to your bag with a small zigzag stitch.

3. Now that we have decorated our bag it is time to close it. Using a scant 1/4 inch seam allowance stitch on the right side of the bag on each side stopping at the 1 1/2 inch mark that you made earlier. Trim any loose threads. Turn your bag inside out. Flatten the seams of the bag and stitch again using a 1/4 inch seam ( this will enclose the raw edges that we had on the outside of the bag. Stop at the 1 1/2 mark at the top of the bag.

4. We are almost done. Turn you bag right side out. On each side of the bag fold the seam allowance that was not stitched on each side and stitch to secure. Now to form the channel for the string fold from the top down to the 1 inch mark that you made earlier and again to the 1 1/2 inch mark. Stitch to secure. Using a safety pin run a ribbon through the channel. *I had planned to use natural twine but it was too rough and didn't run well through the channel. So I used baker's twine instead and worked so much better* And finish it off with a jingle bell on top of the tree.

If you have any questions, leave me a message or send me an e-mail.

Happy Sewing!

XX

Martha.

Advice for New Bloggers: 5 DIY Tricks to Optimize the look of your Blog

Plum and June      

Ever since my friend Beth asked me to take part of the Let's Get Acquainted New Blogger Hop advice series I have been thinking about the advice I wanted to share with you. I started this blog at the end of 2011, but I didn't really started blogging until early last year. To be honest, I did not know what I was doing. Thankfully, I met Beth and joined the Blog Hop. It was one of the best experiences. I met wonderful bloggers from whom I've learned so much and continue to inspire me.
Over the past year and a half I have learned that the design of your blog plays a key role and one should spend some time making things look nice and tidy. For me, the design of my blog is a work in progress and continues to evolve with me as I learn more about blog design and the interesting and very intimidating subject that is HTML coding. The design of your blog is something very personal and it is what makes every blog unique, but here are some simple tips to help you optimize the look of your blog and make it more reader friendly. 

d10c4d4c-ff4a-4a14-9b41-77c9b36dd9d1

Your blog header is like the front door to your house. It is the first thing visitors see when they stop  by. Your blog header should make a statement , but it should not be so big that it takes up half of the page and readers have to scroll down to be able to read  your latest post. Blog headers are topically 200-300 pixels in height.  This allows the reader to view your blog header and part of the first post in most computer monitors.
When it comes to designing your blog header the possibilities are endless (i.e. just the name of your blog, some cute graphics, a photograph or a collage of photos). It might take some time for you to find what exactly suits your taste. But that doesn't mean you can't have fun. Try out different designs until you find something that you absolutely love and you feel reflects the essence of your blog.


344b7a1d-f2b3-485e-aaba-df935fda3183

"A picture is worth thousand words" it might sound like a cliche, but it is absolutely true. Photos are an essential part of of blogs. And some readers might be discouraged from coming back to your blog if the photos are poor. So take time to get know your camera and its settings. When taking photos for your blog take lots of pictures (and I mean a lot) in every possible angle you can imagine, play around with the settings of your camera  so you can experiment and find out what works for you.  Take advantage of free photo editing software products available such as Picasa, PicMonkey and Aviary (integrated on your Flickr account). Here you can read a post I wrote a while back about improving your photography on a budget.


6ee80ebb-a58a-48ac-9479-1d39d64812c9

Avoid bright colors and busy backgrounds for your blog. They are distracting and keep your readers from focusing on the content. Instead use a neutral or white background and allow your photos to shine. 


c8ce9faf-037a-4ee1-bf3e-b79cf05f270a

There are some cool fonts out there and it may be tempting to use them in your blog (I've done it). However, some of those fonts are difficult to read and not very easy on your reader's eyes. Keep the font of the body of your post plain and simple.  And reserve those special fonts for accents such a post title or tabs. Additionally, choose a black or gray color for the text of your blog post, bright colored fonts are not easy to read either. 
  

4c69c220-cf94-48e9-a613-d7a814306173

Make it easier for you readers to find content in your blog. The pages feature offered by Blogger and Wordpress are an excellent feature for organizing your blog and directing your readers to specific content such a a list of the tutorials you have written, the projects you have completed, etc. Blogger allows you to add the pages to the top of your blog (right underneath your blog header), on the side bar or manually link to each page individually. 


If you missed the Advice to New Bloggers from the previous weeks, please be sure to check it out!


Thank you for Stopping by!

Martha.

Tutorial: Upcycled Paper Flowers

Upcycled Paper Flower -

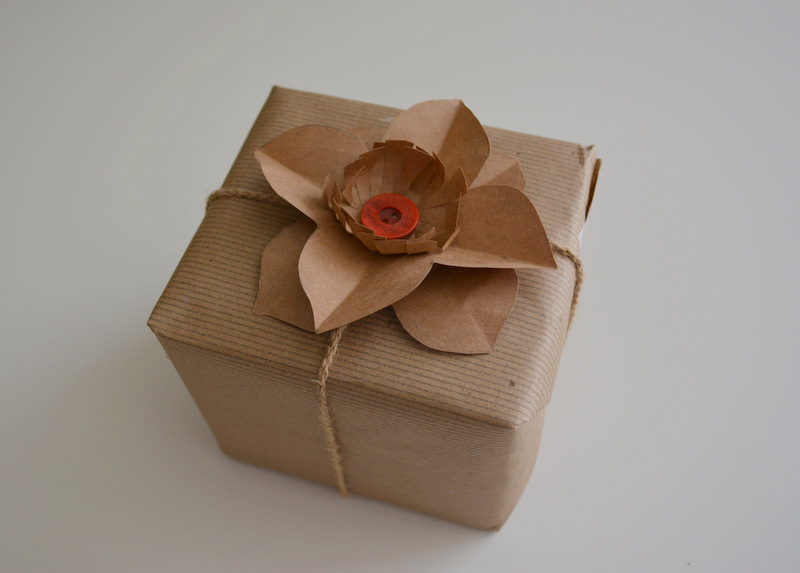
My friend Alicia from Arty and Crafty Little Things is hosting on her blog A Month of Flowers all this month. Every day she shows us a flower craft project created by her or by a contributing blogger. I have been having so much fun and getting so much inspiration from all of the great projects that she  has presented. And when she asked me to contribute I was totally on board. I made a flower with upcycled paper from a brown paper bag (like the ones they put your groceries in at the supermarket). I try to carry my reusable bags when I go shopping, but sometimes I forget them and I end up coming home with a bag or two. So instead of just throwing them in the recycling bin I try to reuse them as much as possible.
This is a super simple flower that you can use to embellish a present or make a few, attach them to a ribbon  and make a lovely garland. 

Materials:

-A piece of craft paper from a brown paper bag (approximately 8X8 inches)
-Hot glue gun
-Scissors
-Pencil
-1 button

Upcycled Paper Flower - Instructions

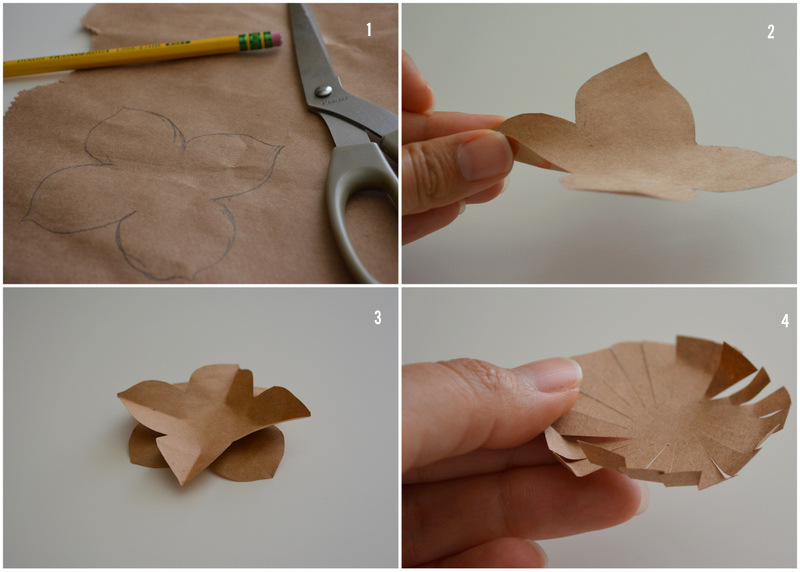
1. Draw a 4 petal flower approximately 4 inches from end to end. Don't worry is doesn't have to be perfect. Cut your flower and use it as a template to draw a second one and cut. 

2. Fold each petal in the middle without folding all the way to the center of the flower.

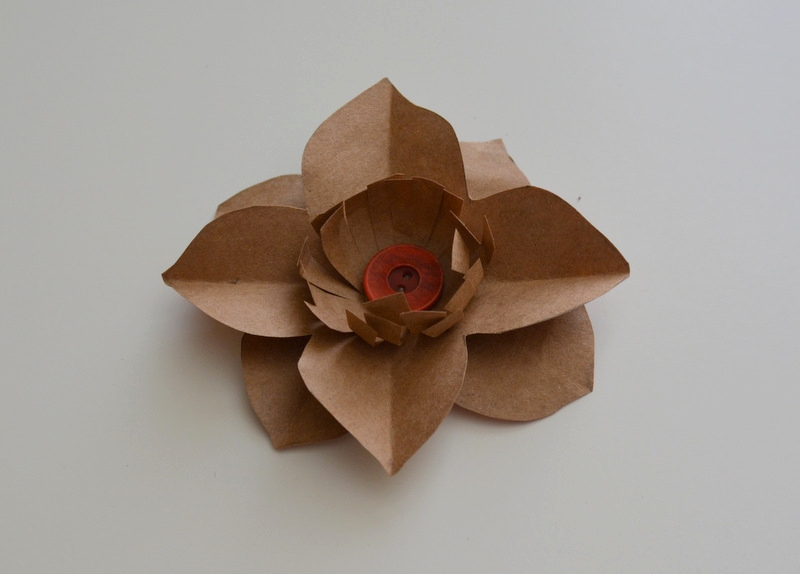
3. Using hot glue attach the two flower as shown in the picture. Set aside.

4. Draw a 2 inches circle and cut. Make small cuts from the edge to the center making sure yo don't cut all the way to the center of the circle. Using your fingers curl up the edges. Glue to the middle of the flower and finish off with the button in the center. 

Upcycled Paper Flower

XX

Martha.

Monday Link Up: Some Photography Tips

IMG_1209

Welcome, for those of you new to my blog, my name is Martha and this is where I record my adventures in quilting, cooking and gardening. I'm so happy to be hosting the 

Let's Get Acquainted Monday Link Up

 this week. I was so delighted when

Beth

 asked me if I wanted to host it. I met Beth last summer during Let's Get Acquainted Blog Hop that she organized, and I'm so glad I did. I'm a big fan of her blog. For those of you who haven't visited her  blog, please do so, every week she shares the beautiful sewing and quilting projects that she creates and she always uses the most beautiful fabrics, she has excellent taste. I'm so glad to have you here, please look around, I hope you stay a while.

Now on to this week's post: Photography is a subject that I'm very passionate about. And for us bloggers photos really help us convey the message we are trying impart whether it is sharing our latest creations or what we have been up to. I'm not an expert in any way, but I love learning about photography and trying new tricks that would help me improve my photos. Thus, I thought I'd share some tips that I have learned over the past year or so I have been blogging.

IMG_1211

* Equipment:

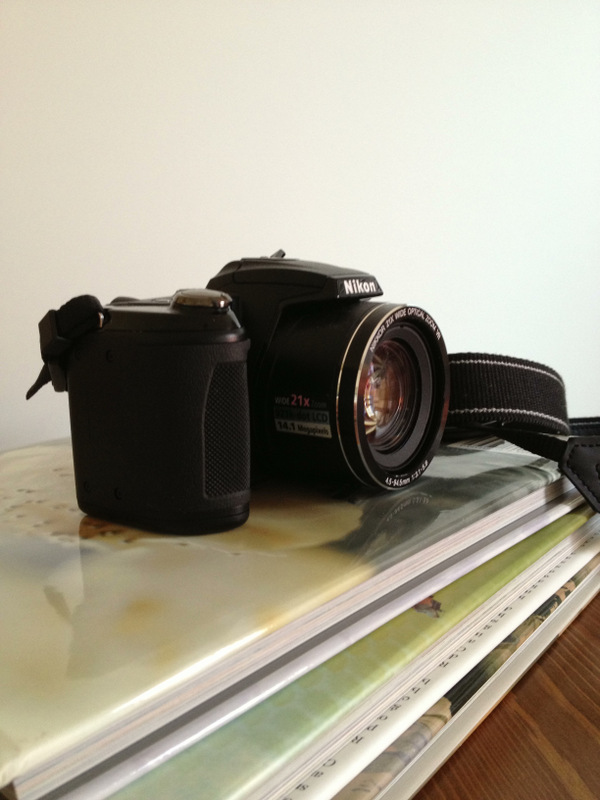
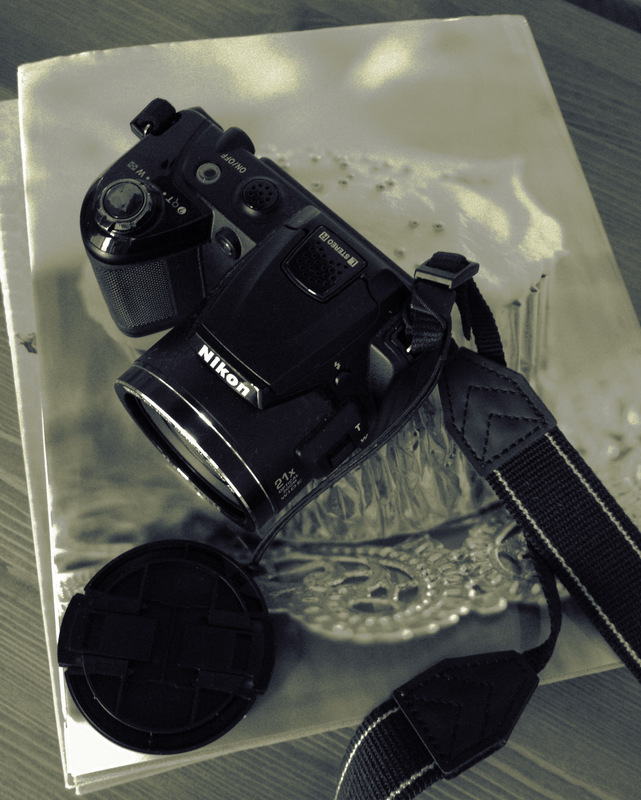
You don't need to have expensive equipment to create beautiful photographs. Most of my photos are taken using with my trusty point and shoot Nikon I got as a gift from my husband two Christmases ago.   Nowadays digital cameras have advanced so much and you can get a great affordable camera that would deliver great results without breaking the bank. Don't get me wrong, having a fancy DSLR is great, I myself I'm thinking about upgrading one day, but I feel that I still have not completely outgrown my current camera.

If you own a smart phone, as most of us do, take advantage of it. There are great apps available that could help you edit and enhance your photography and you can get great shots using your phone. I took the pictures above using my iPhone.

*

Lighting:

Try taking your pictures in bright daylight, and avoid using your flash. Look around in your house and observe how the light comes in at different times of the day to identify the best spots where to take your pictures. For me for example, I get great lighting in the afternoon in my sewing room. I have a desk next to the window and that is one of my preferred spots to take pictures. I like placing a white board on the opposite direction from the where the light comes in to reflect the light and avoid shadows on the object I'm photographing.

*

Taking steady pictures is very important and sometimes just pressing the shutter button on your camera  can get the picture out of focus. Try using a tripod or set your camera on the table your are taking the pictures and use some books to raise your camera to get the height you need. Then, use the timer on your camera that way you won't need to press the shutter button.

* Experiment with the settings of your camera and take different shots at different angles to see which setting gives you the result you were looking for. Having multiple shots of the subject you are photographing gives you more possibilities when choosing the picture you want to include in your post.

*

 Use a neutral backdrop to enhance the object you are photographing rather than risking getting lost on a busy background. 

*

Lastly, take lots of pictures. I think amateur photography takes a lot of trial and error, and practice make us better. So don't be shy; get to know your camera and take it with you everywhere. Learn to see the world through the lens of your camera. You will be surprised how much your photos will improve by just taking more photos.

And now on to the Link up;

  1. Link up a recent sewing/quilt post.
  2. In your post or on your blog, please include either a text link or a button letting people know about this link up.
  3. Visit at least the two bloggers who link up before you and everyone who visits you from this post. 
  4. When the link tool asks for your name, write down your favorite cookie!

Link up closed 

Tutorial: Fabric Covered Tin Can

Fabric Covered Can


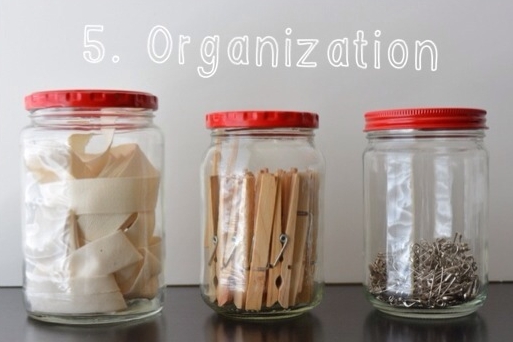
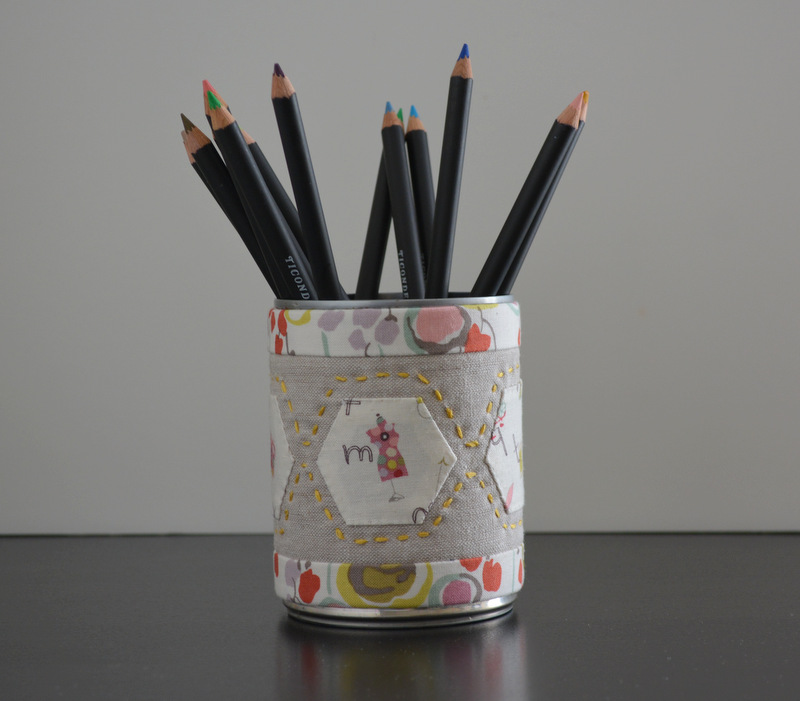
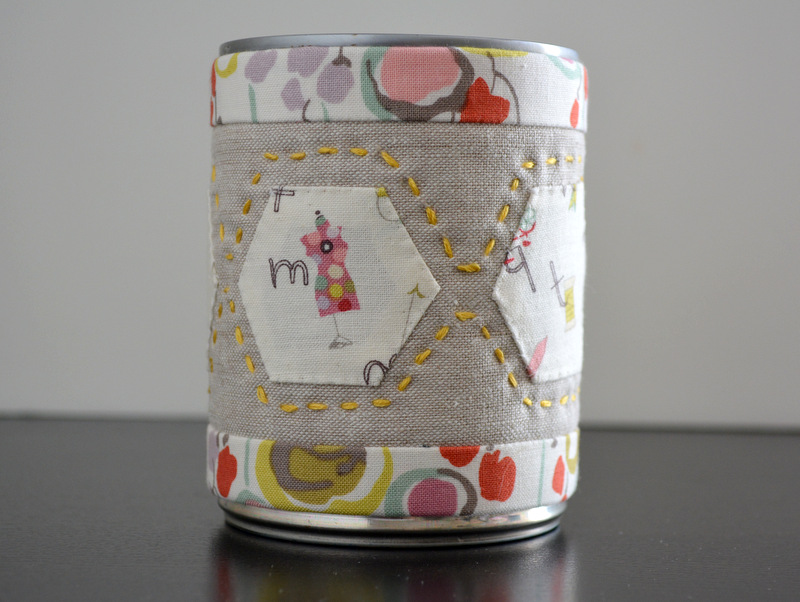
I have been obsessed about covering tin cans lately. It all started about a month ago when I was looking for affordable yet beautiful containers to organize my sewing room. When I blogged about my fabric covered tin cans I got such very lovely comments that I decided to write a tutorial on how to make them.

This is what you need:


  • 1 tin can rinsed and all labels removed. Make sure it has no sharp edges on the rim
  • A piece of linen fabric at least 10X6 inches
  • Fabric scraps
  • Batting
  • Embroidery floss

Measure the circumference and height of you can. The can I used is a 16 oz can and it measures 9 1/4 inches around and 3 5/8 inches high so all the measurements will be based on that.

Cutting fabric:
Background: Cut 1 piece 10X3.5 inches of the linen.
Closing End: Cut 1 piece 4.5X2 inches of the linen
Binding: Cut 2 pieces 10X1.5 inches of a contrasting fabric
Hexies; Fussy cut 4 pieces from your fabric scraps and make 4 2 inches hexies
Batting: Cut 1 piece 10X3 inches 
Trace the bottom of your can on the felt to cut a circle


Assembling the pieces together:


  • Lay your batting on our table, then place the background fabric on top, then place a piece of of your binding fabric right side facing down and align  to the edge. Sew all pieces together using a 1/2 inch seam. Repeat on the other side. Fold the binding fabric outwards and iron the seams. You are going to have bout 1/2 inch of fabric overhang: fold over the back of the panel and iron. Now your binding is complete.


    • Now we are going to attach the closing end. Fold your fabric that you cut for the closing end in half and iron. Attach to one end of the panel using a 1/4 inch seam, fold over the seam and iron. Then fold the overhangs from each side underneath the panel, iron and hand stitch to the back to secure.


      • Arrange your hexies the way you would like them on your panel. Hand-applique them to the background fabric. Optional; using embroidery floss quilt around the hexies using a running stitch.


        • Almost done... Warp your finished panel around the tin can making sure the the side where you sewed the closing end sits on top of the unfinished side. Using a blind stitch, sew the edge of the closing end to the panel. Then place the felt circle that you cut earlier in the bottom of the can.

          Fabric Covered  Can


          And there you have it a beautiful container to keep things organized.

          Martha