Advice for New Bloggers: 5 DIY Tricks to Optimize the look of your Blog

Plum and June      

Ever since my friend Beth asked me to take part of the Let's Get Acquainted New Blogger Hop advice series I have been thinking about the advice I wanted to share with you. I started this blog at the end of 2011, but I didn't really started blogging until early last year. To be honest, I did not know what I was doing. Thankfully, I met Beth and joined the Blog Hop. It was one of the best experiences. I met wonderful bloggers from whom I've learned so much and continue to inspire me.
Over the past year and a half I have learned that the design of your blog plays a key role and one should spend some time making things look nice and tidy. For me, the design of my blog is a work in progress and continues to evolve with me as I learn more about blog design and the interesting and very intimidating subject that is HTML coding. The design of your blog is something very personal and it is what makes every blog unique, but here are some simple tips to help you optimize the look of your blog and make it more reader friendly. 

d10c4d4c-ff4a-4a14-9b41-77c9b36dd9d1

Your blog header is like the front door to your house. It is the first thing visitors see when they stop  by. Your blog header should make a statement , but it should not be so big that it takes up half of the page and readers have to scroll down to be able to read  your latest post. Blog headers are topically 200-300 pixels in height.  This allows the reader to view your blog header and part of the first post in most computer monitors.
When it comes to designing your blog header the possibilities are endless (i.e. just the name of your blog, some cute graphics, a photograph or a collage of photos). It might take some time for you to find what exactly suits your taste. But that doesn't mean you can't have fun. Try out different designs until you find something that you absolutely love and you feel reflects the essence of your blog.


344b7a1d-f2b3-485e-aaba-df935fda3183

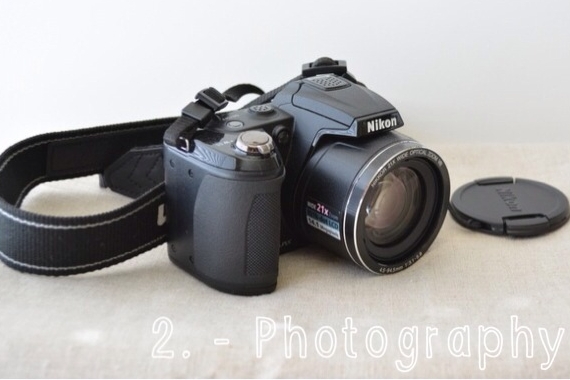
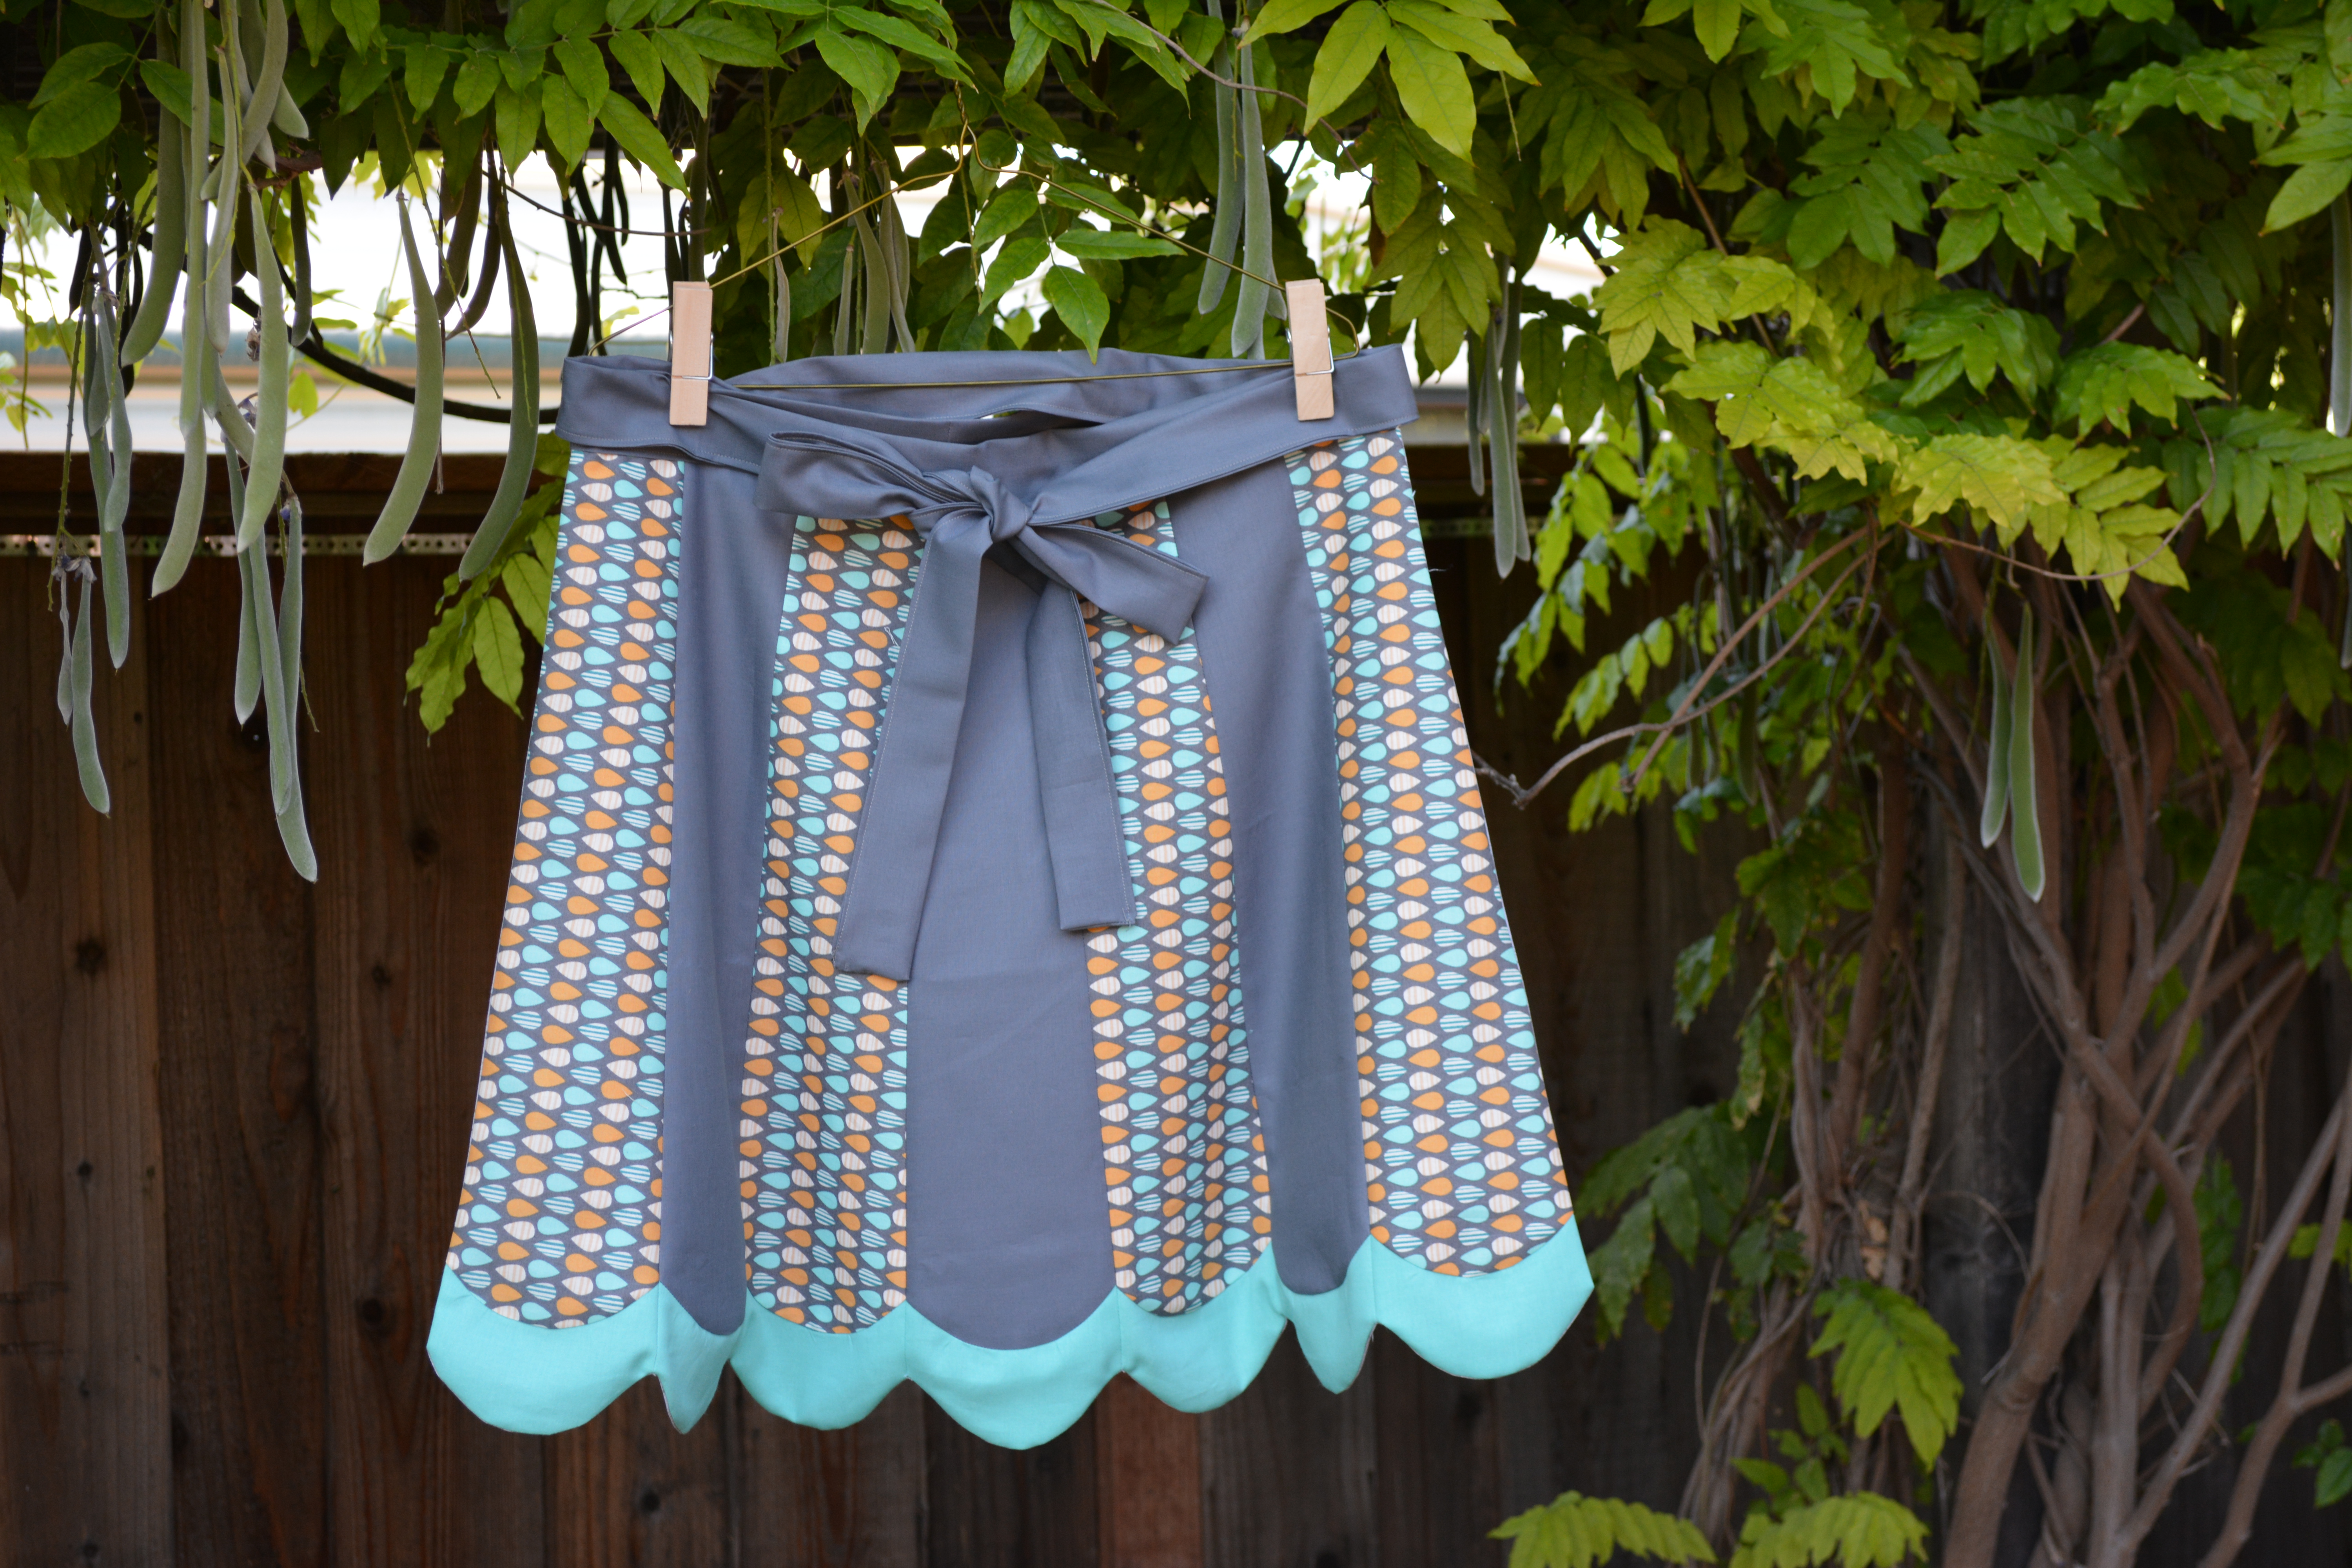
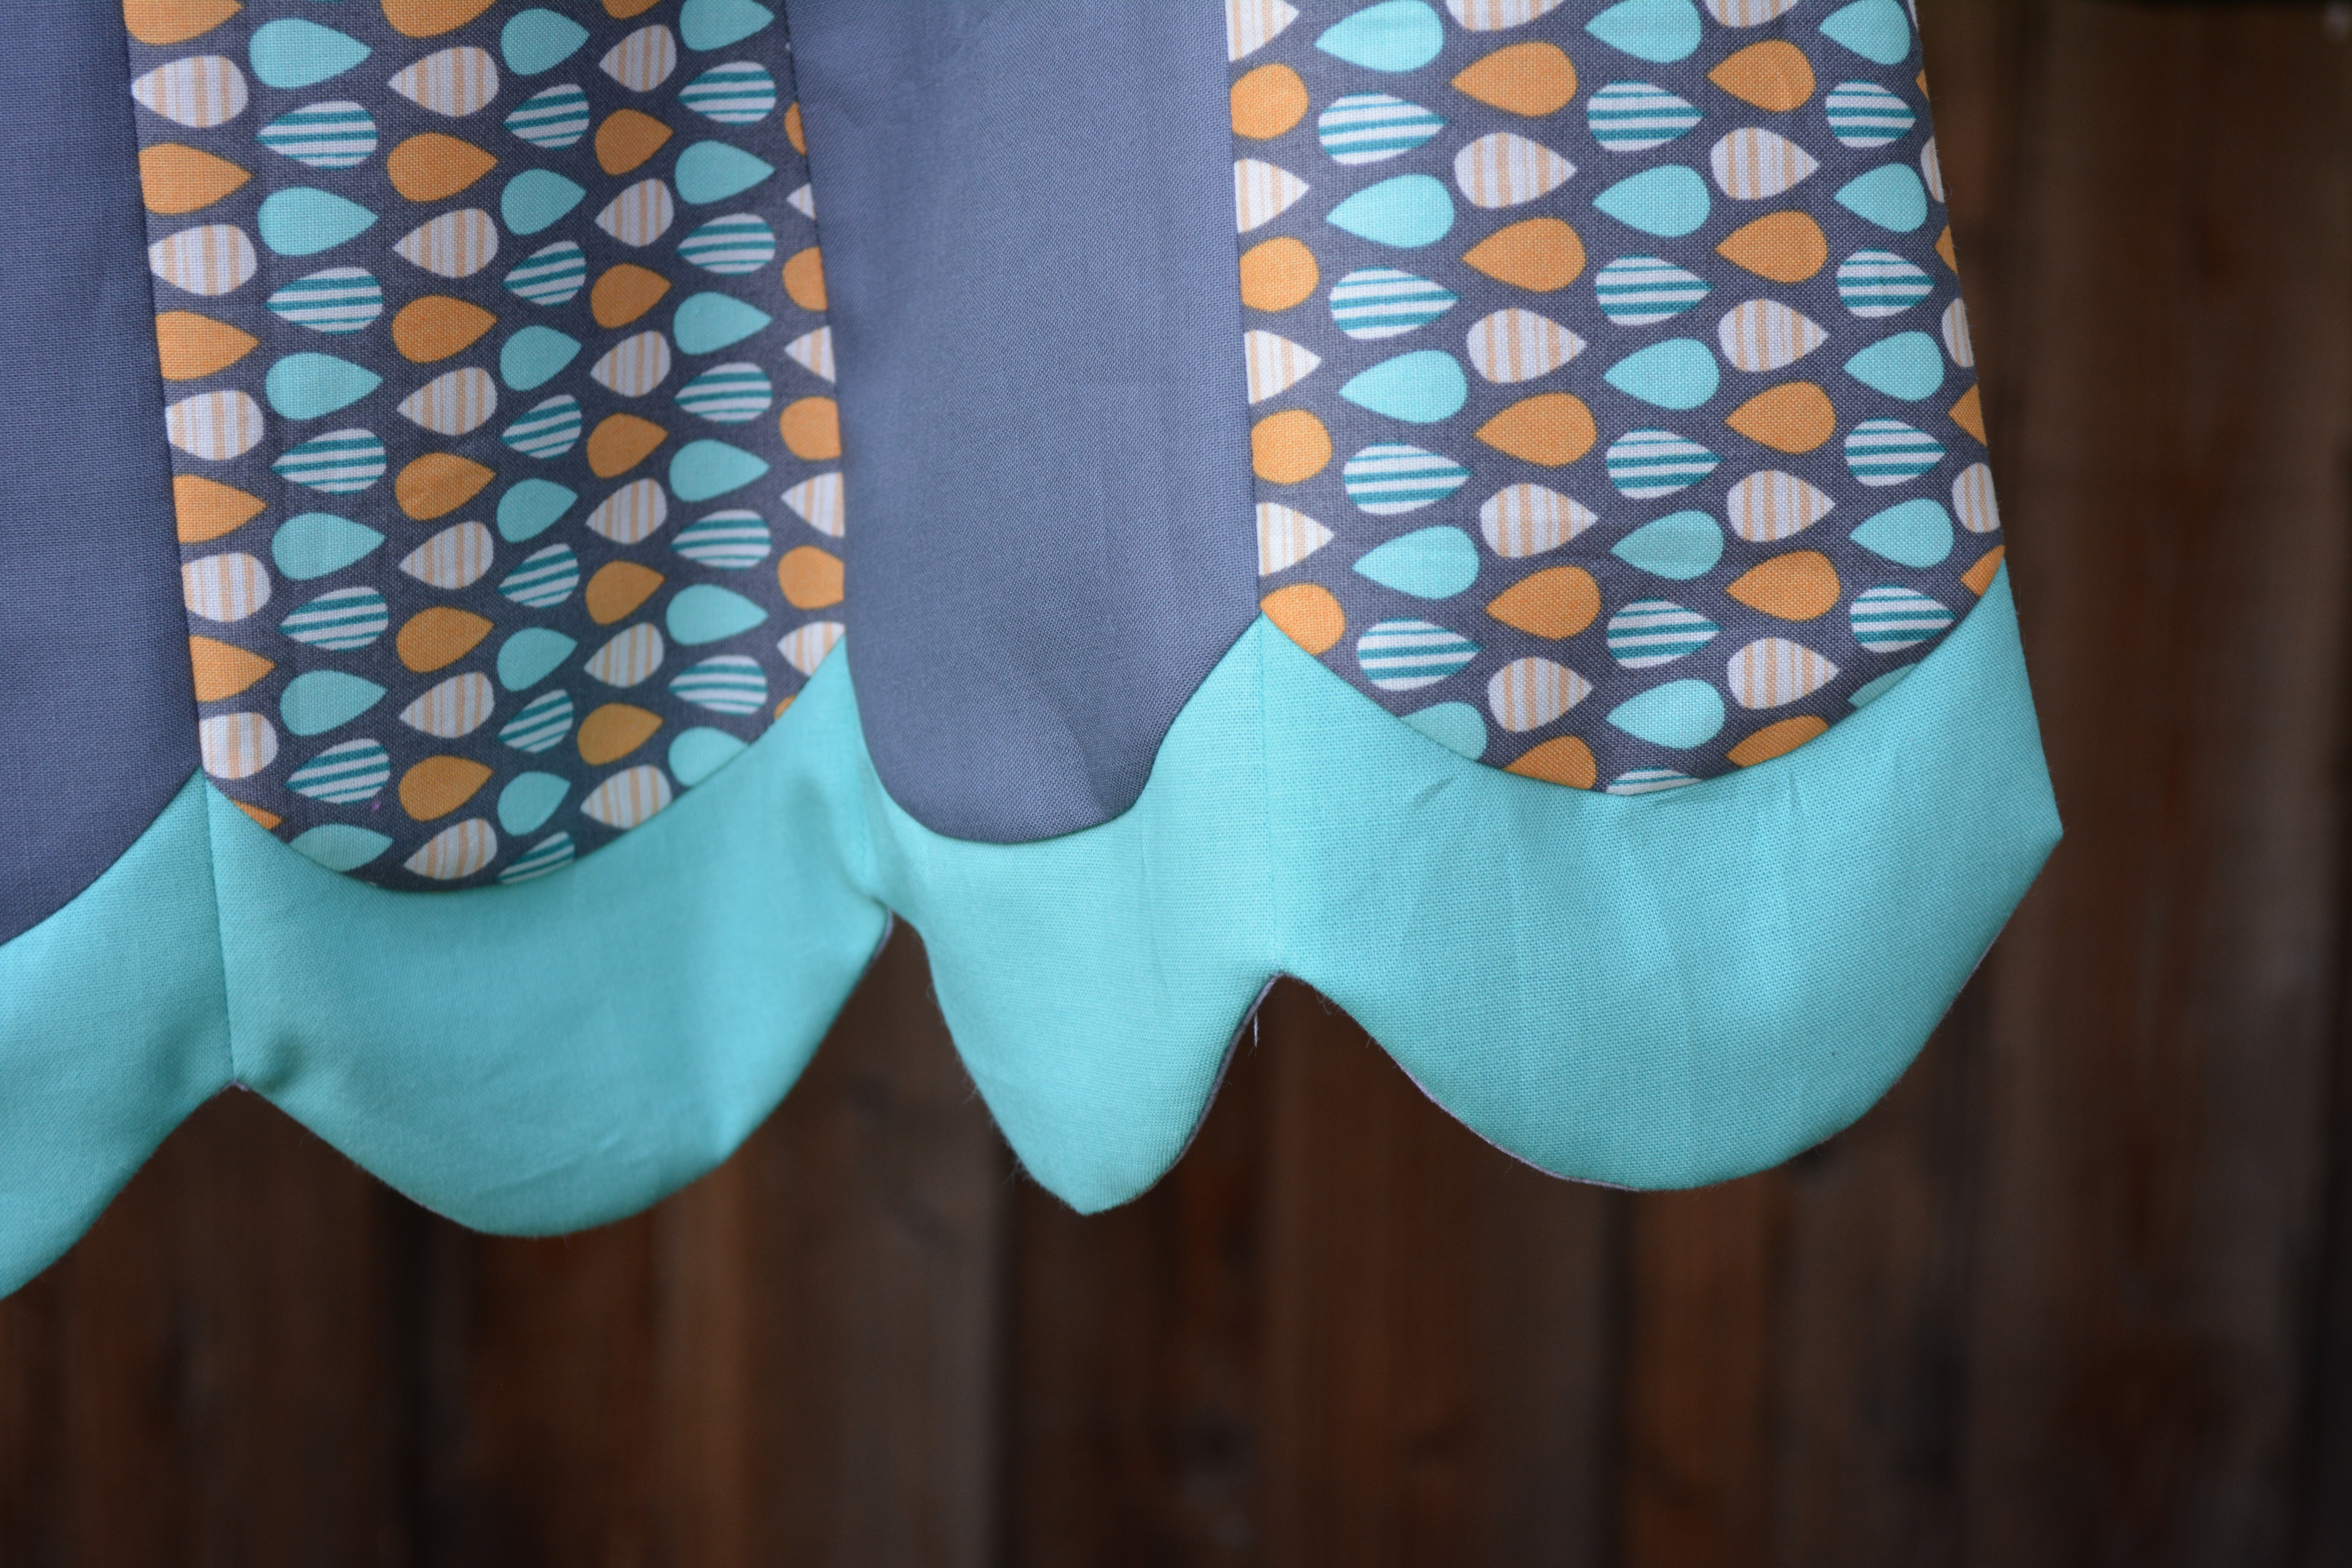
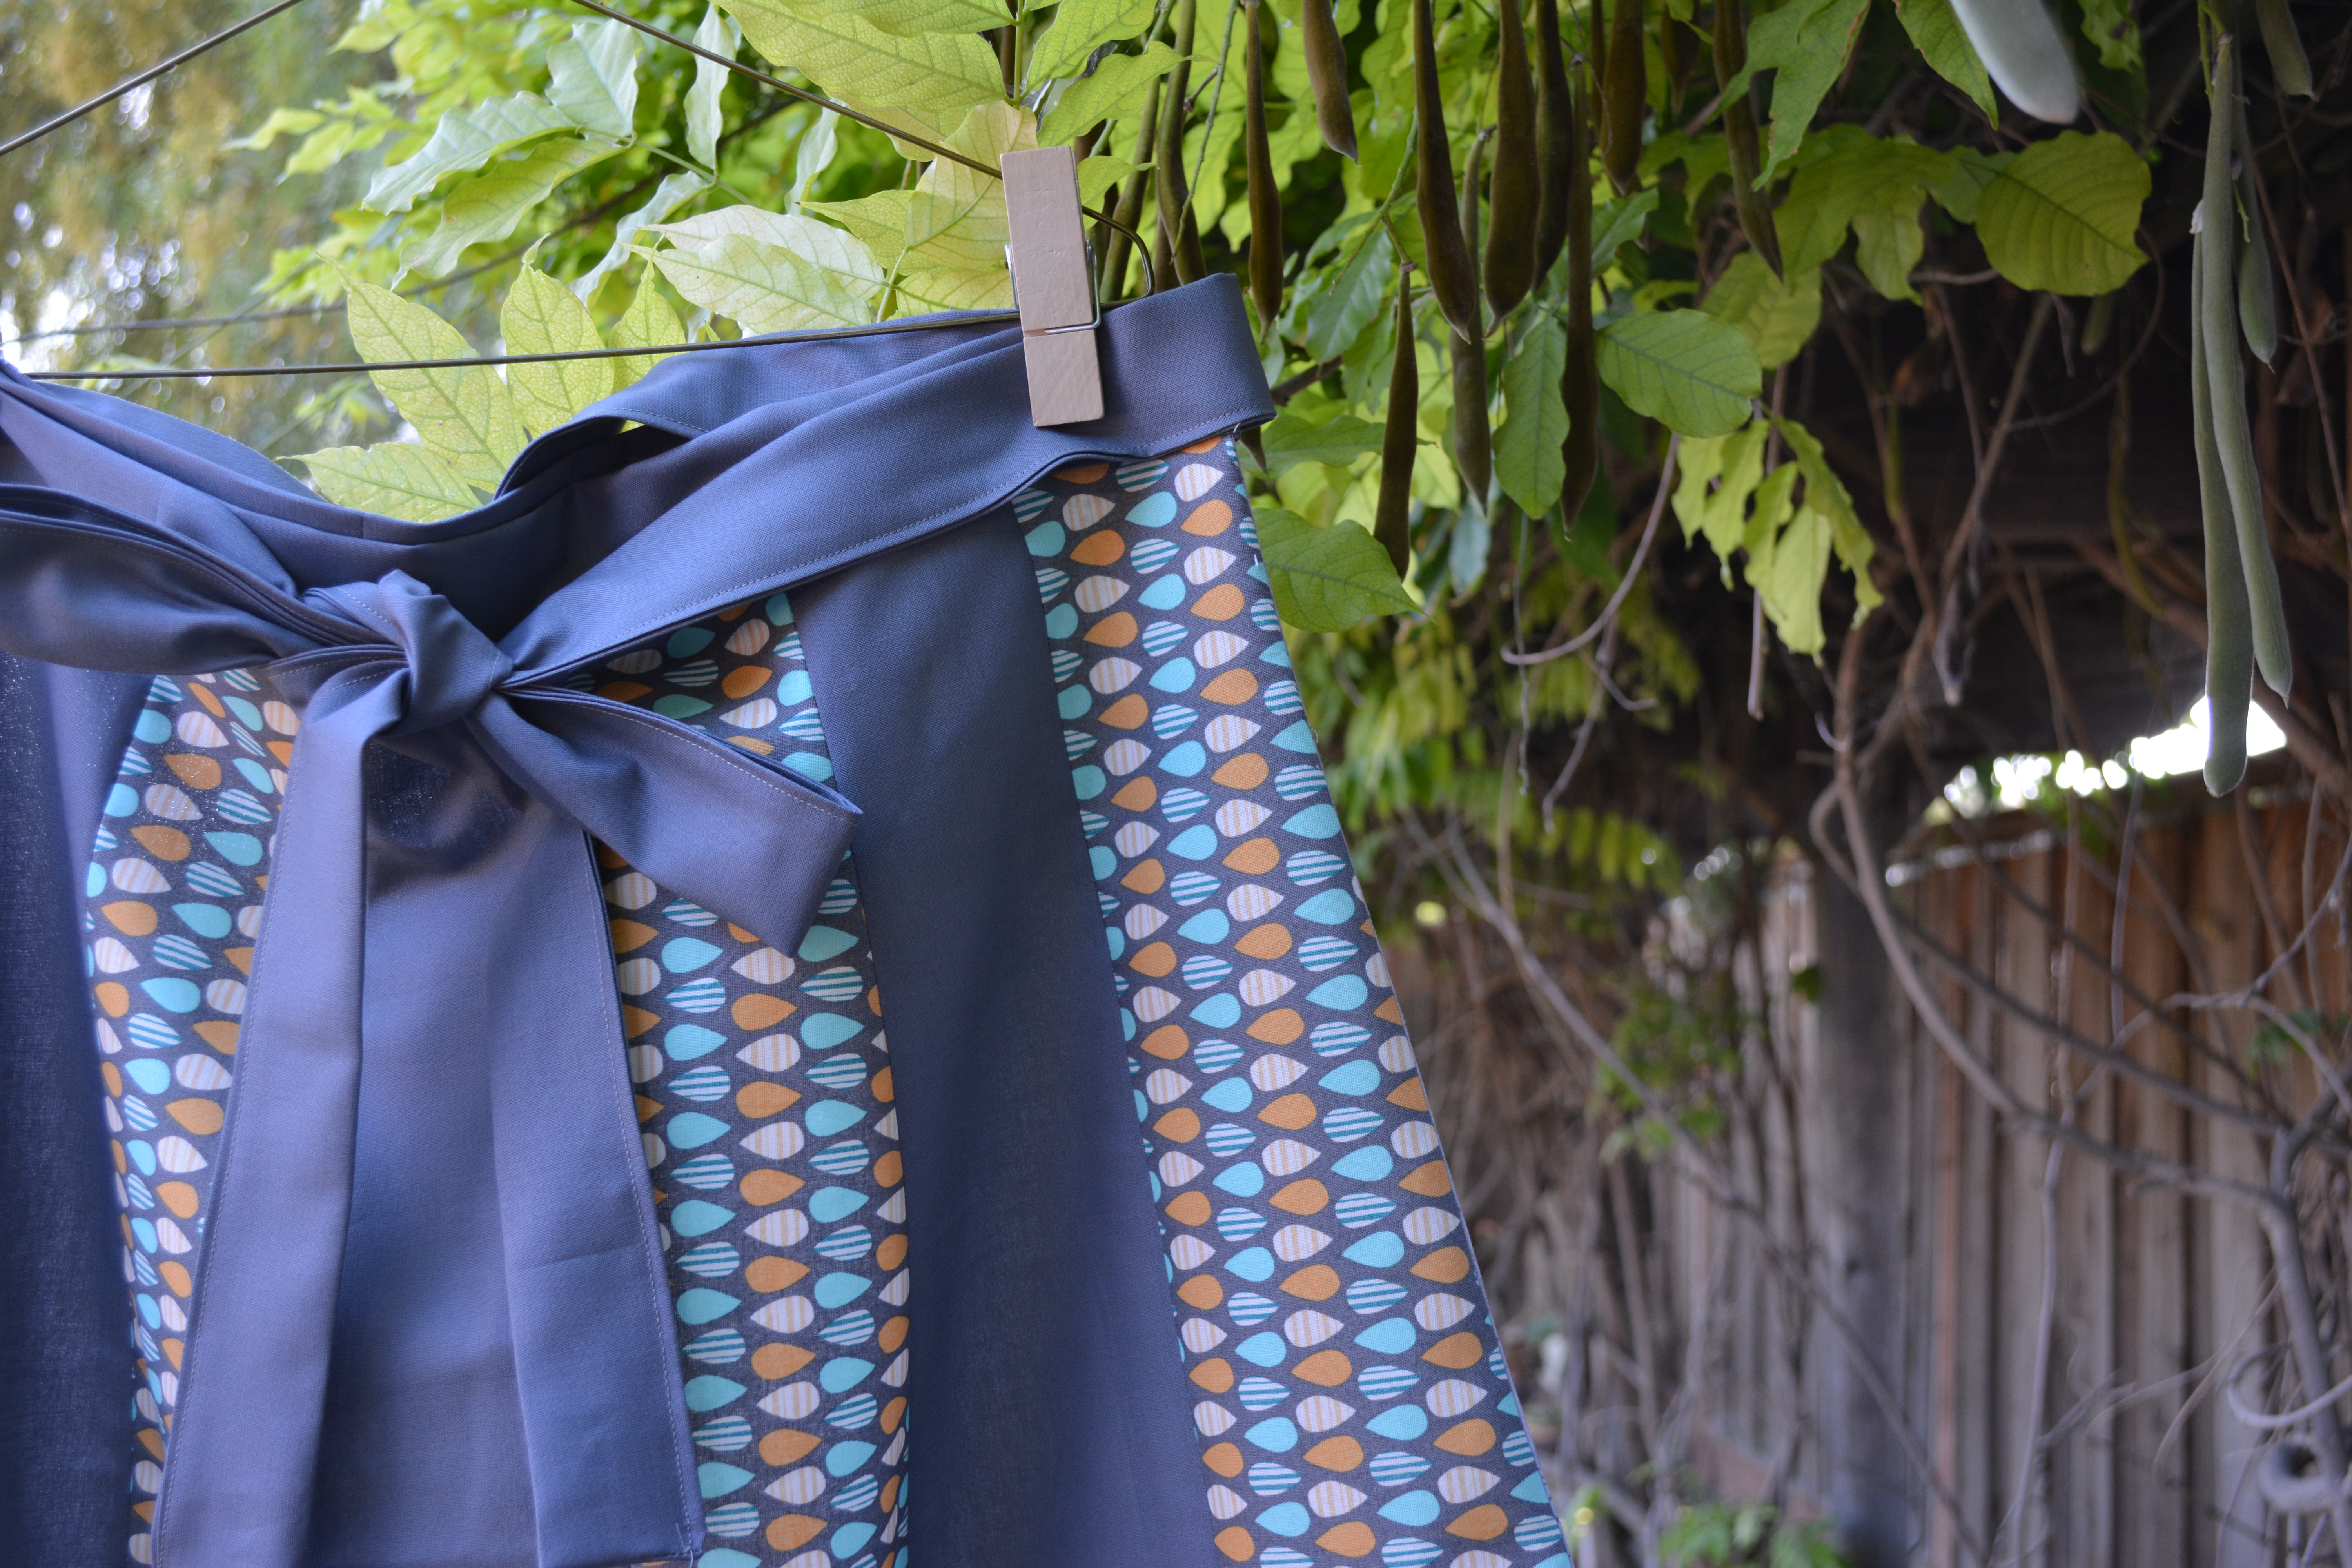
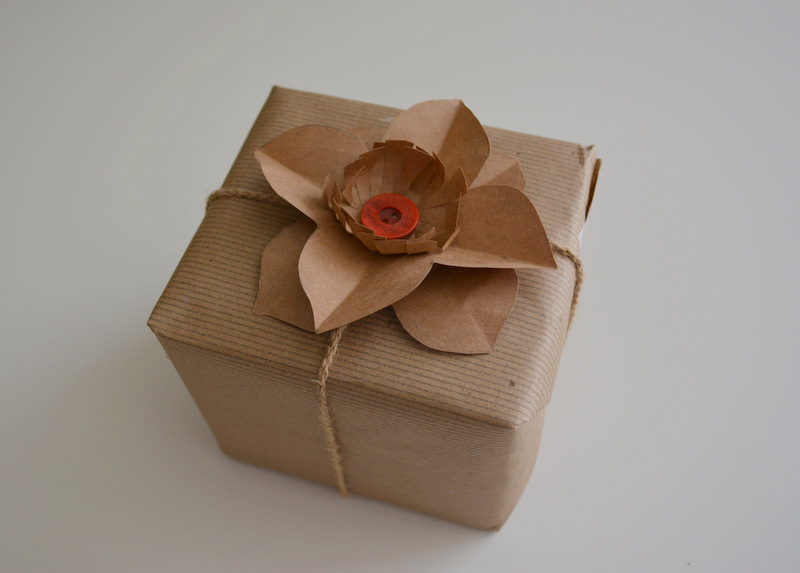
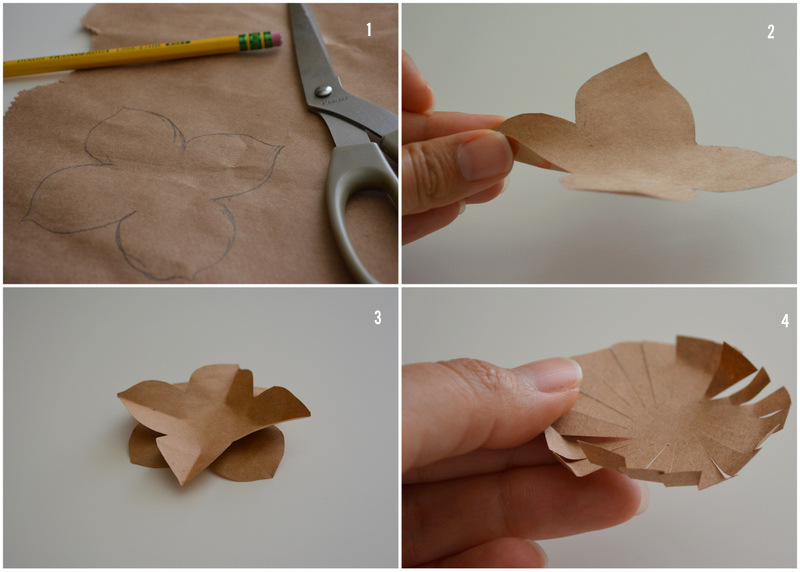
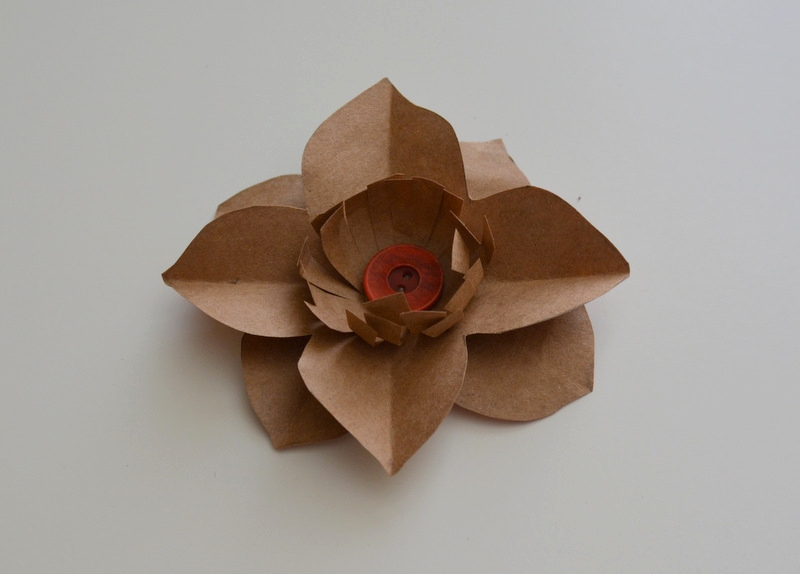
"A picture is worth thousand words" it might sound like a cliche, but it is absolutely true. Photos are an essential part of of blogs. And some readers might be discouraged from coming back to your blog if the photos are poor. So take time to get know your camera and its settings. When taking photos for your blog take lots of pictures (and I mean a lot) in every possible angle you can imagine, play around with the settings of your camera  so you can experiment and find out what works for you.  Take advantage of free photo editing software products available such as Picasa, PicMonkey and Aviary (integrated on your Flickr account). Here you can read a post I wrote a while back about improving your photography on a budget.


6ee80ebb-a58a-48ac-9479-1d39d64812c9

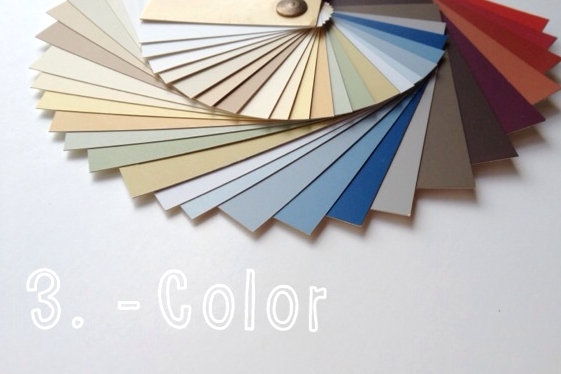
Avoid bright colors and busy backgrounds for your blog. They are distracting and keep your readers from focusing on the content. Instead use a neutral or white background and allow your photos to shine. 


c8ce9faf-037a-4ee1-bf3e-b79cf05f270a

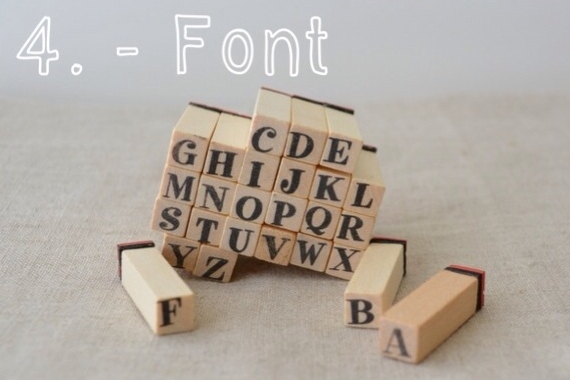
There are some cool fonts out there and it may be tempting to use them in your blog (I've done it). However, some of those fonts are difficult to read and not very easy on your reader's eyes. Keep the font of the body of your post plain and simple.  And reserve those special fonts for accents such a post title or tabs. Additionally, choose a black or gray color for the text of your blog post, bright colored fonts are not easy to read either. 
  

4c69c220-cf94-48e9-a613-d7a814306173

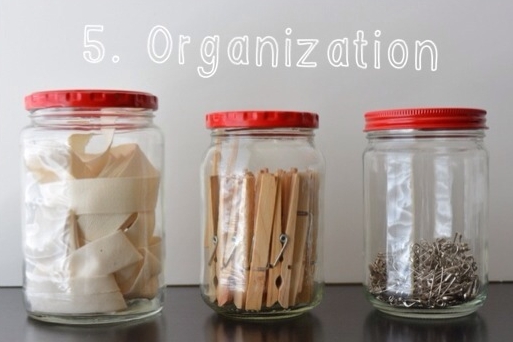
Make it easier for you readers to find content in your blog. The pages feature offered by Blogger and Wordpress are an excellent feature for organizing your blog and directing your readers to specific content such a a list of the tutorials you have written, the projects you have completed, etc. Blogger allows you to add the pages to the top of your blog (right underneath your blog header), on the side bar or manually link to each page individually. 


If you missed the Advice to New Bloggers from the previous weeks, please be sure to check it out!


Thank you for Stopping by!

Martha.

June

June 2013

Oh boy, June sure went by fast! Here are some pics of my June from my Instagram feed. Lots of lovely flowers and peaches from the garden. Unfortunately not much sewing going on, just a lot of jam making :)  
How was your June? Did you finish all the projects that you had planned?
I'm really looking forward to July; hopefully a more productive month sewing wise. And simply enjoy the long warm days of summer. 


XX

Martha.

Superheroes and a New Project

Super Heroes Quilt

Super Heroes Quilt

Super Heroes Quilt

Pretty Salvage

Today I started a new quilt. It has been on my mind for a couple of months. Ever since I found this uberly  cute Robert Kaufman fabric at my local Beverly's store. It is called Superhero News Paper. When I stumbled upon the bolt of fabric at the store I was not even looking for children's fabric, but I couldn't resist buying it. The colors are vibrant and happy, and the characters so whimsical. Even the selvedge is cute! So I thought I have to make a quilt for my nephew. He is four years old and I'm sure he will get a kick out the comical characters. Plus, what little boy doesn't like superheroes? Right? 
 By the time I left the store I had already planned out the design of the quilt... I love it when that happens. I just hate that it took me this long to actually get started. I'm practicing my improv piecing on this quilt and I made a lot of progress. I'm hoping to show you the finished quilt very soon. I'm really excited about this one :)
Have a lovely week!

*Linking up to Plum and June's Let's Get Acquiainted Monday Link Up hosted this week by Ange at Heart of Charnwood, New to Me 2013 at Celtic Thistle Stitches and WIP Wednesday at Freshly Pieced*


XX

Martha.

Peach Jam

DSC_0302

And the peach madness continues around here... there is such a bounty and a bit of a race to preserve the fruit at the peak of its ripeness. So today I devoted the day to make jam. Lots of jam; I have to say I couldn't have done it without my husband's help. We made about 30 pounds of peaches into jam. So there was a lot of washing, peeling, cutting and of course lots of dirty pots and pans to wash. But it was all worth it. There is so much satisfaction  from growing our own food and sharing with the people we love. It is such a blessing.

I wish I could share with you some jam, but  that will be a bit complicated. So I thought I'd share the recipe with you instead. This is a reduced or low sugar freezer jam.I don't like things that are overly sweet and my father-in-law is diabetic, so I'm always trying to find ways to cook with less sugar. This is my go to recipe for jam. It is a very easy to make and the best part is that you can store it in the freezer. Thus, you can skip the water bath processing. 

DSC_0312


 Peach Jam
Adapted from Everyday Food Magazine

Ingredients
5 cups peeled and crushed peaches
1/3 cup lemon juice
1-1/2 cups sugar
1/3 cup low or no-sugar pectin
Freezer safe jars* (plastic or glass) thoroughly rinsed and dry.

* I like to use Ball Canning Jars, they work really well for storing food in the freezer*

Method:
1. In a pot over medium-high heat combine the peaches and lemon juice and bring to boil.
2. In a bowl combine sugar and pectin ans whisk to combine. Add sugar mixture to fruit and stir to combine. Allow to return to boil for 1 minute and remove from heat.
3. Fill jars leaving 1/2 inch of head space. Put lids on the jars and let jam cool and set at room temperature for about 3 hours. Label jars and store in the freezer.

Peach Jam


-Jam can be stored for up to a year in the freezer. When ready to use thaw in the refrigerator overnight.

Enjoy!

Martha. 

Scalloped Apron

Scalloped Apron

DSC_0120

DSC_0129

I made another scalloped apron. This one is for one of the ladies at the Crafty Cooks Apron Swap I participated in last April. She did not receive an apron from her partner. It should not happen, but once in a while someone just goes silent and leaves everyone wondering what might have happened (I hope this person is OK, though). Anyway, Sam one the co-hosts e-mailed me and asked me if I could help her by making another scalloped apron like the one I made my partner since she hear that she really like it... I was happy to help. So last Sunday I made it and it is now on its way to its new home along with another pretty apron that Sam made. I'm glad that this story has a happy ending after all; and even if she did not receive an apron from her partner now she gets two :)

*Pattern from the book Sew, So Cute!*

XX
Martha.

Goodbye May

May 2013

Where did the month go? It felt as if May went by so quickly... but it was a great month. Fun birthday celebrations and lots of cake (maybe too much). The weather has been great around here and plenty of plants are blooming in the garden, so I got to enjoy fresh flower in the house too. The fruits and veggies from the garden are doing great and we did get to enjoy some already. Even though we don't expect a big yield this year since we are re-configuring our planting beds, we savor every bit that we get.
  
Good bye May... now I'm really looking forward to June and the summer weather. 
I hope you had a great May too! 

XX
Martha.

Tutorial: Upcycled Paper Flowers

Upcycled Paper Flower -

My friend Alicia from Arty and Crafty Little Things is hosting on her blog A Month of Flowers all this month. Every day she shows us a flower craft project created by her or by a contributing blogger. I have been having so much fun and getting so much inspiration from all of the great projects that she  has presented. And when she asked me to contribute I was totally on board. I made a flower with upcycled paper from a brown paper bag (like the ones they put your groceries in at the supermarket). I try to carry my reusable bags when I go shopping, but sometimes I forget them and I end up coming home with a bag or two. So instead of just throwing them in the recycling bin I try to reuse them as much as possible.
This is a super simple flower that you can use to embellish a present or make a few, attach them to a ribbon  and make a lovely garland. 

Materials:

-A piece of craft paper from a brown paper bag (approximately 8X8 inches)
-Hot glue gun
-Scissors
-Pencil
-1 button

Upcycled Paper Flower - Instructions

1. Draw a 4 petal flower approximately 4 inches from end to end. Don't worry is doesn't have to be perfect. Cut your flower and use it as a template to draw a second one and cut. 

2. Fold each petal in the middle without folding all the way to the center of the flower.

3. Using hot glue attach the two flower as shown in the picture. Set aside.

4. Draw a 2 inches circle and cut. Make small cuts from the edge to the center making sure yo don't cut all the way to the center of the circle. Using your fingers curl up the edges. Glue to the middle of the flower and finish off with the button in the center. 

Upcycled Paper Flower

XX

Martha.

A Picture... A Moment

Cactus flower

The most striking flower on a miniature cactus in my garden. It only blooms once a year for a few days. The flower opens in full sun and closes in the evening. And today I was lucky to catch a glimpse of this beauty in its full splendor... and until next year.

XX

Martha.