
Tutorial: Fabric Covered Tin Can
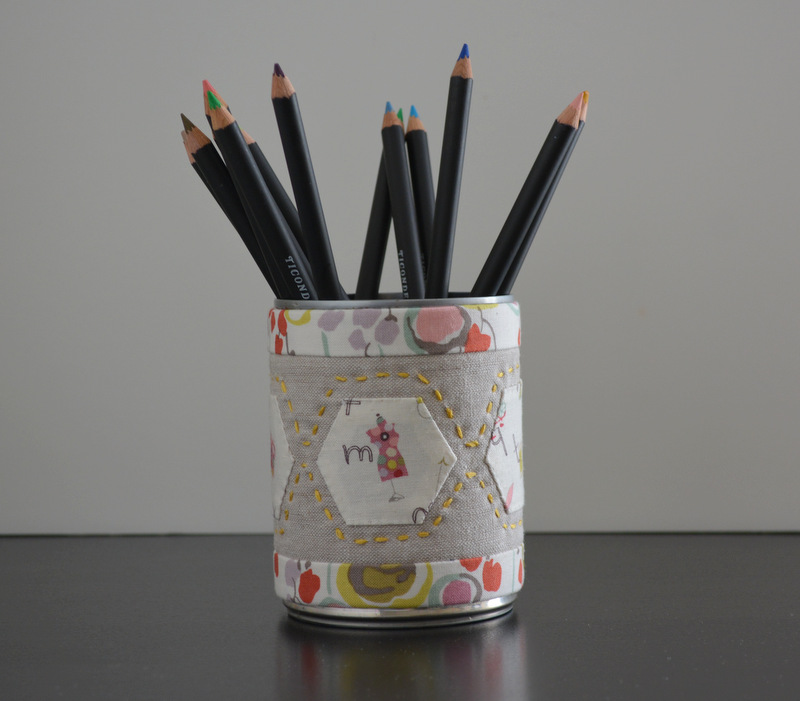
I have been obsessed about covering tin cans lately. It all started about a month ago when I was looking for affordable yet beautiful containers to organize my sewing room. When I blogged about my fabric covered tin cans I got such very lovely comments that I decided to write a tutorial on how to make them.
This is what you need:
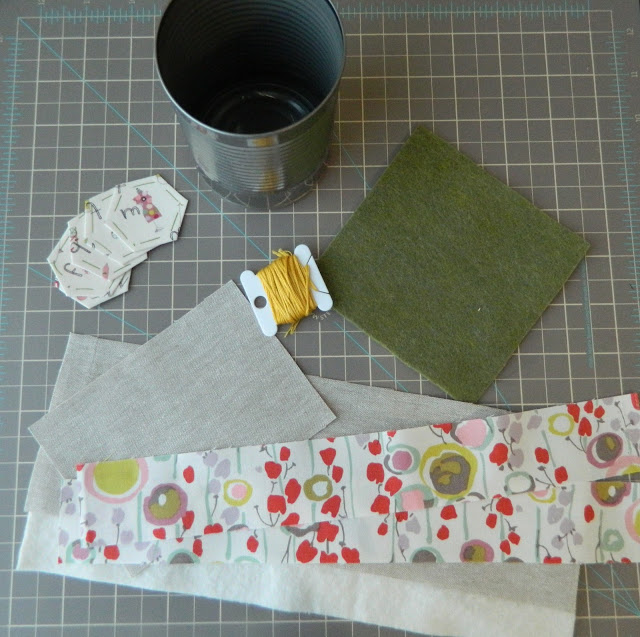
- 1 tin can rinsed and all labels removed. Make sure it has no sharp edges on the rim
- A piece of linen fabric at least 10X6 inches
- Fabric scraps
- Batting
- Embroidery floss

Measure the circumference and height of you can. The can I used is a 16 oz can and it measures 9 1/4 inches around and 3 5/8 inches high so all the measurements will be based on that.
Cutting fabric:
Background: Cut 1 piece 10X3.5 inches of the linen.
Closing End: Cut 1 piece 4.5X2 inches of the linen
Binding: Cut 2 pieces 10X1.5 inches of a contrasting fabric
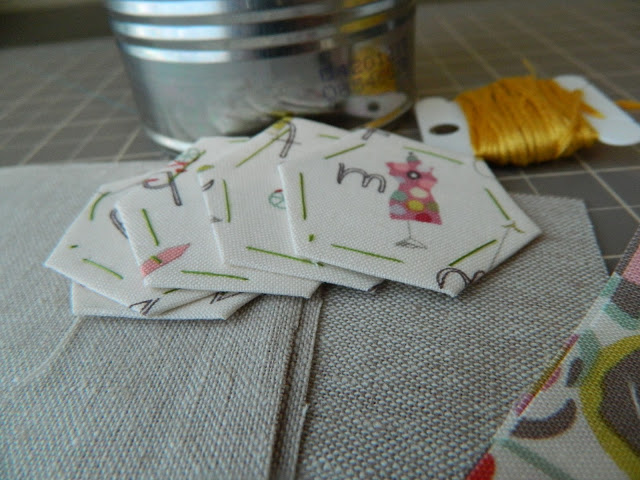
Hexies; Fussy cut 4 pieces from your fabric scraps and make 4 2 inches hexies
Batting: Cut 1 piece 10X3 inches
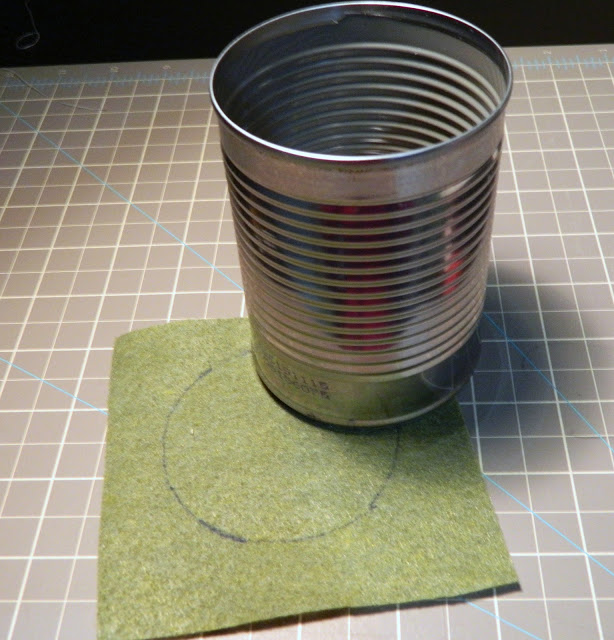
Trace the bottom of your can on the felt to cut a circle
Assembling the pieces together:
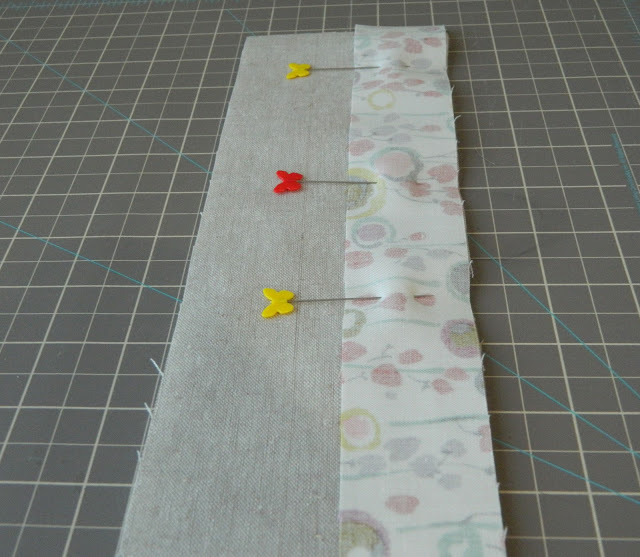
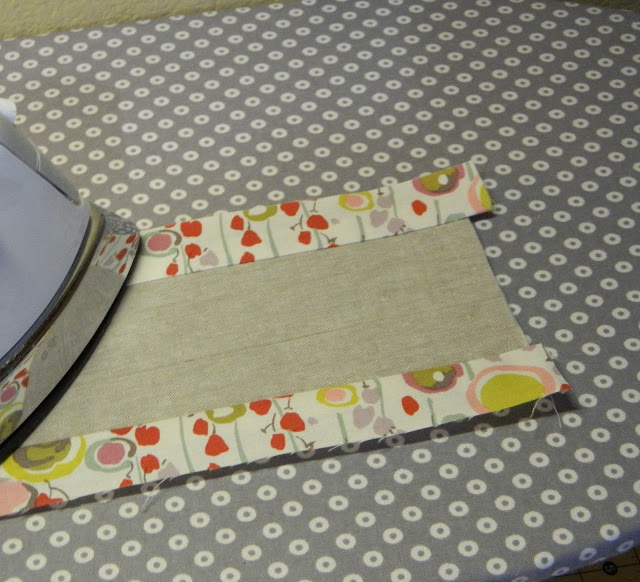
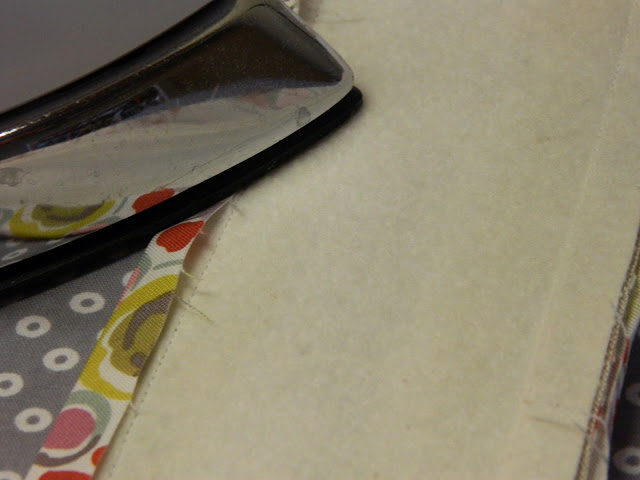
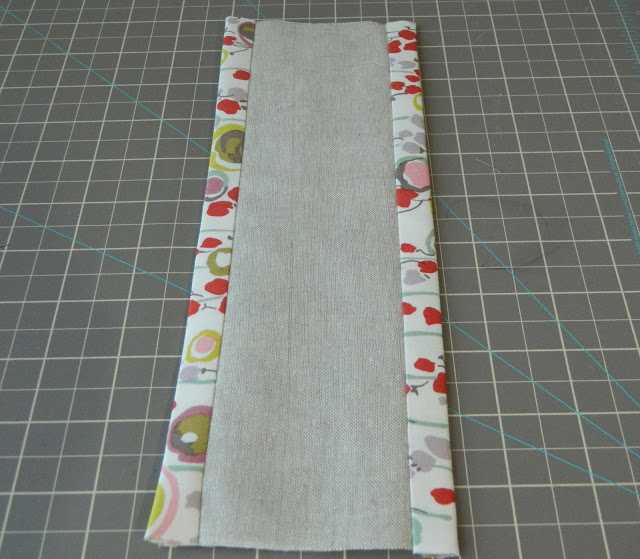
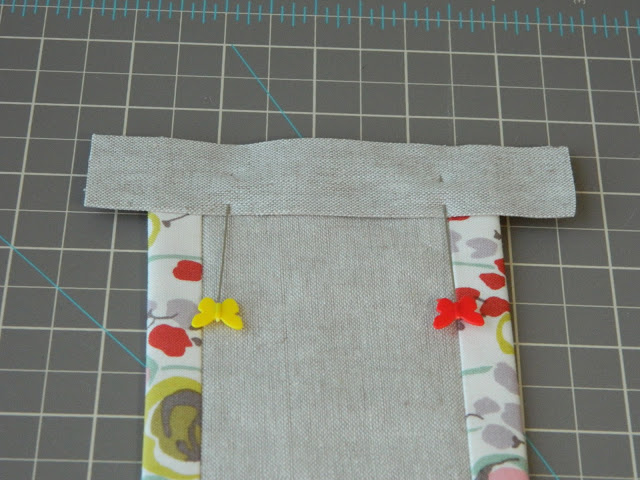
- Lay your batting on our table, then place the background fabric on top, then place a piece of of your binding fabric right side facing down and align to the edge. Sew all pieces together using a 1/2 inch seam. Repeat on the other side. Fold the binding fabric outwards and iron the seams. You are going to have bout 1/2 inch of fabric overhang: fold over the back of the panel and iron. Now your binding is complete.
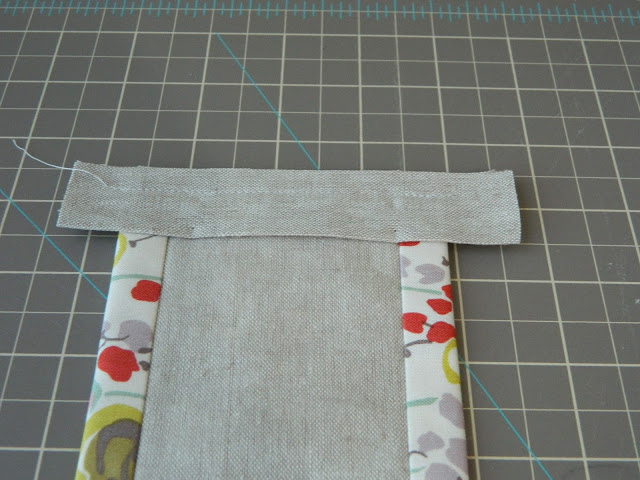
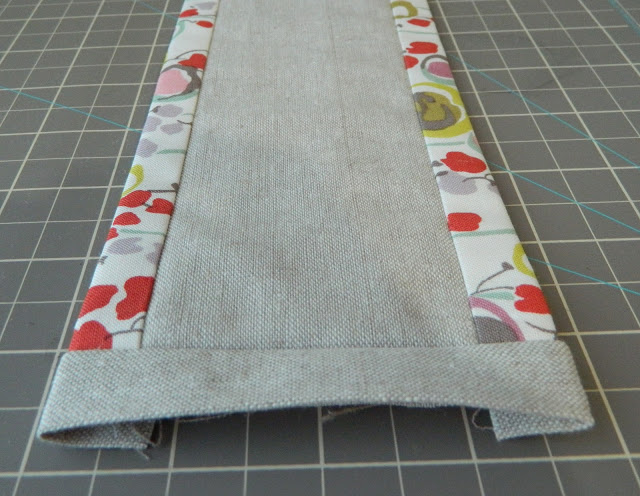
- Now we are going to attach the closing end. Fold your fabric that you cut for the closing end in half and iron. Attach to one end of the panel using a 1/4 inch seam, fold over the seam and iron. Then fold the overhangs from each side underneath the panel, iron and hand stitch to the back to secure.
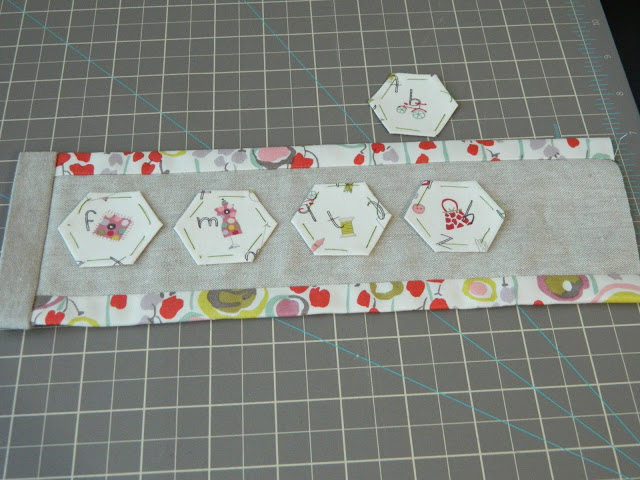

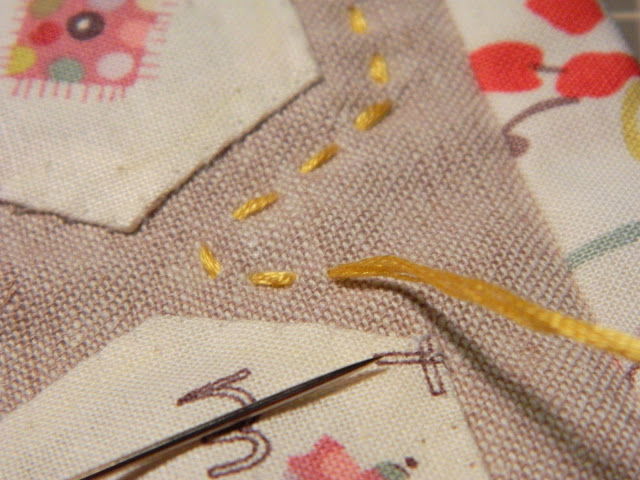
- Arrange your hexies the way you would like them on your panel. Hand-applique them to the background fabric. Optional; using embroidery floss quilt around the hexies using a running stitch.
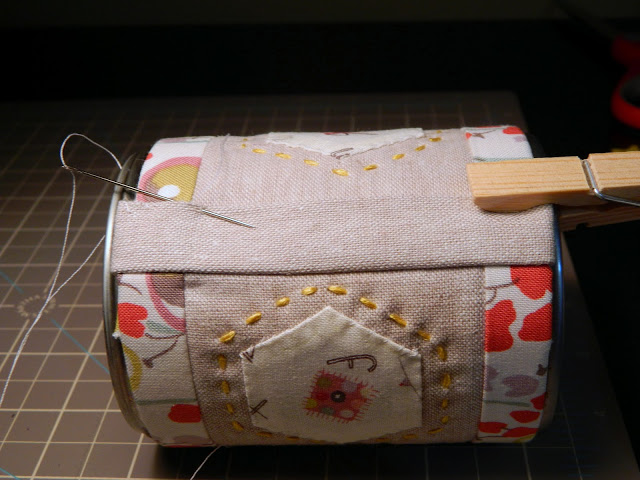
- Almost done... Warp your finished panel around the tin can making sure the the side where you sewed the closing end sits on top of the unfinished side. Using a blind stitch, sew the edge of the closing end to the panel. Then place the felt circle that you cut earlier in the bottom of the can.

And there you have it a beautiful container to keep things organized.
Martha